My Seagate external hard drive suddenly stopped showing up in Windows, and it has important photos and work files on it. I’m trying to figure out if Seagate external hard drive recovery is safe to attempt at home or if I should avoid DIY tools and contact a data recovery service.
Stop using the Seagate drive for now. If it suddenly looks empty, asks to be formatted, shows up as RAW, or won’t list your files, the data may still be there. The real danger is writing new stuff to it and overwriting files that could still be recovered.
So don’t format it, don’t initialize it, and don’t copy anything onto it. Just unplug it until you’re ready to work on the recovery.
First, make sure this isn’t a physical failure. If the drive is clicking, grinding, beeping, repeatedly spinning up and down, or making any new weird noises, I wouldn’t run recovery software on it. A scan can put extra stress on a drive that is already failing. In that case, look into Seagate Rescue Data Recovery Services. Some Backup Plus drives included limited Rescue coverage, and you can check that on Seagate’s site with the serial number.
If the drive sounds normal, then it may just be a damaged partition or file system. Windows asking to format it, not showing it in File Explorer, or listing it as RAW does not automatically mean the files are gone.
For a DIY attempt, Disk Drill is a reasonable tool to try with an external Seagate drive that was unplugged improperly, lost its partition, or is detected but unreadable.
The safer way to do it is:
Install Disk Drill on your internal drive, or on some other separate drive. Do not install it on the Seagate drive.
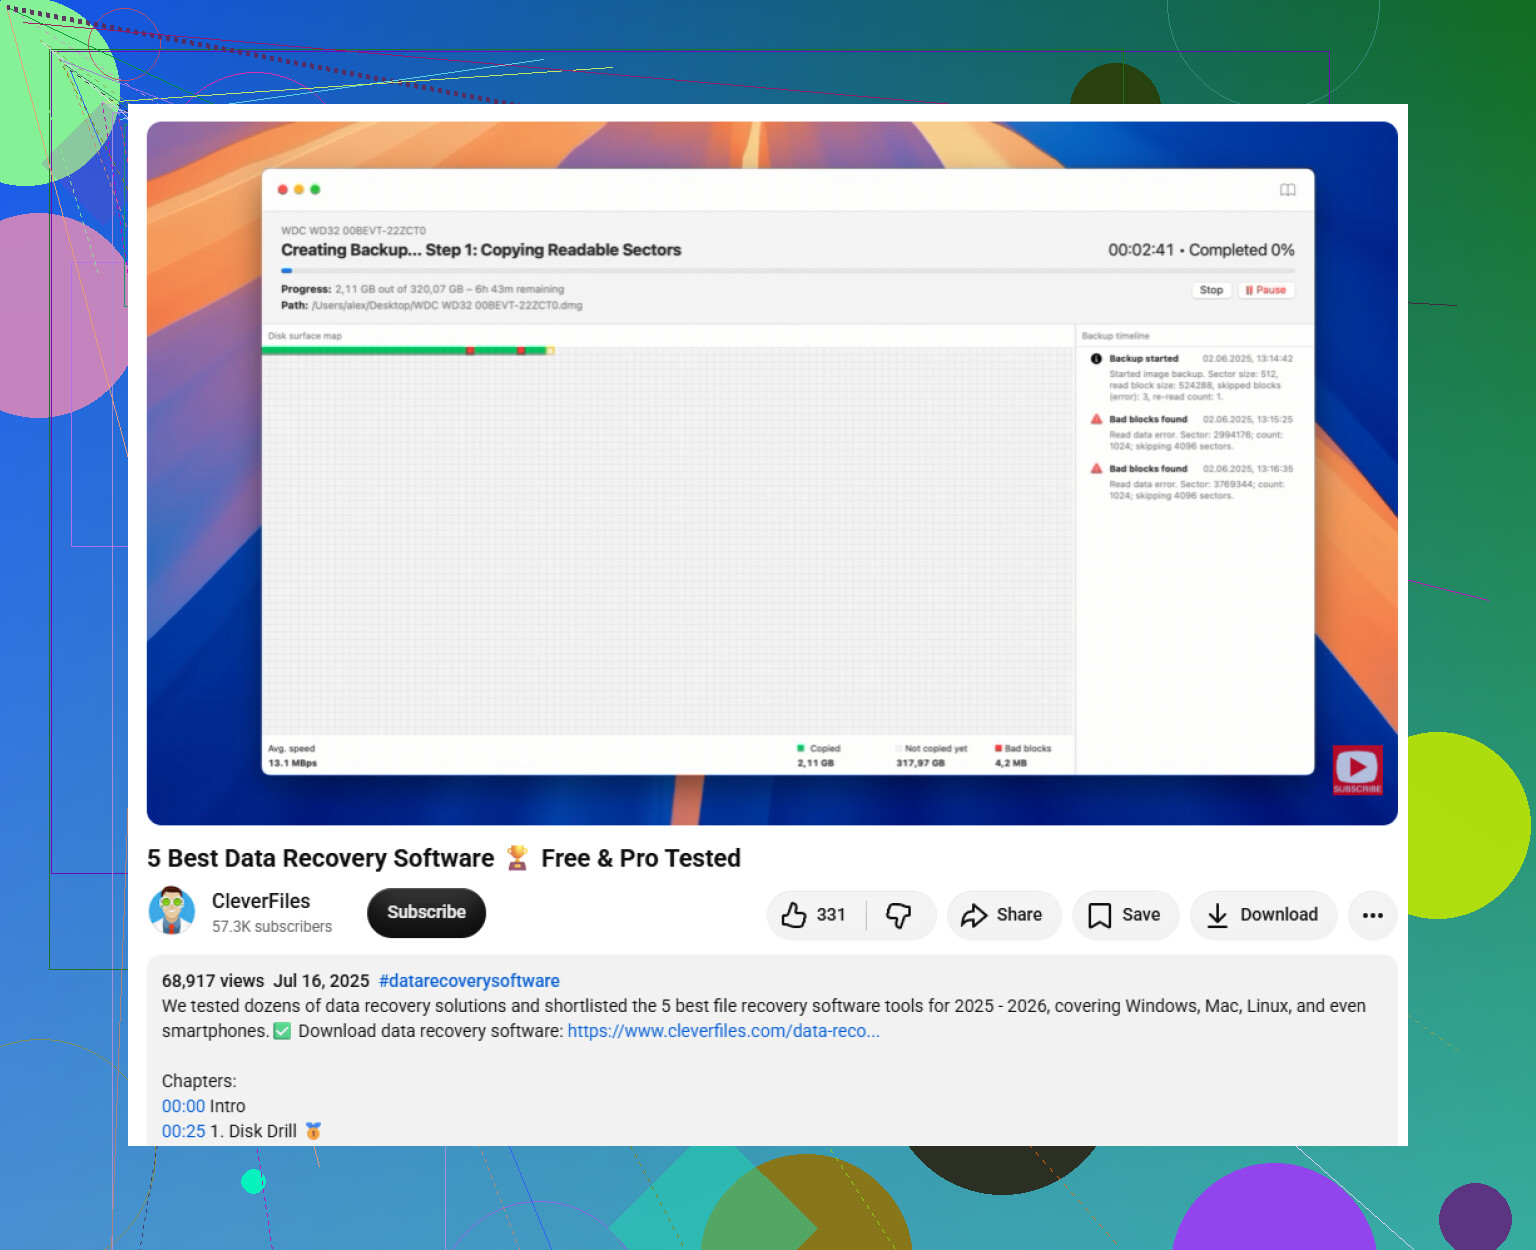
If the files are important, make a byte-to-byte backup first. Disk Drill can create a full image of the Seagate drive, and then you scan the image instead of scanning the original disk. That is usually safer, especially if the drive is old or acting unstable.
Use a good USB cable while doing this. If the drive keeps disappearing or is not detected properly, try another cable or another USB port. Sometimes the problem is the cable or enclosure connection, not the actual disk.
Once you scan the image or the drive, check the results carefully. Use preview before recovering anything. If your photos, documents, or videos preview correctly, that is a good sign they can be recovered.
Save recovered files to another drive only. Never recover files back onto the same Seagate drive while you’re still trying to recover data from it.
If Windows won’t open the drive, check Disk Management. If the drive appears there with the correct size, recovery software may still be able to scan it even if File Explorer can’t read it.
After you get the important data off, test the drive with Seagate SeaTools. Run the Long Generic Test. If it fails, replace the drive. If it passes, you can reformat it, but I’d still keep a separate backup and not trust it as your only copy.
Large external drives can take a long time to scan, so let it run unless the drive starts making bad noises or keeps disconnecting. If it is still detected and doesn’t seem physically damaged, it is worth trying recovery before giving up.
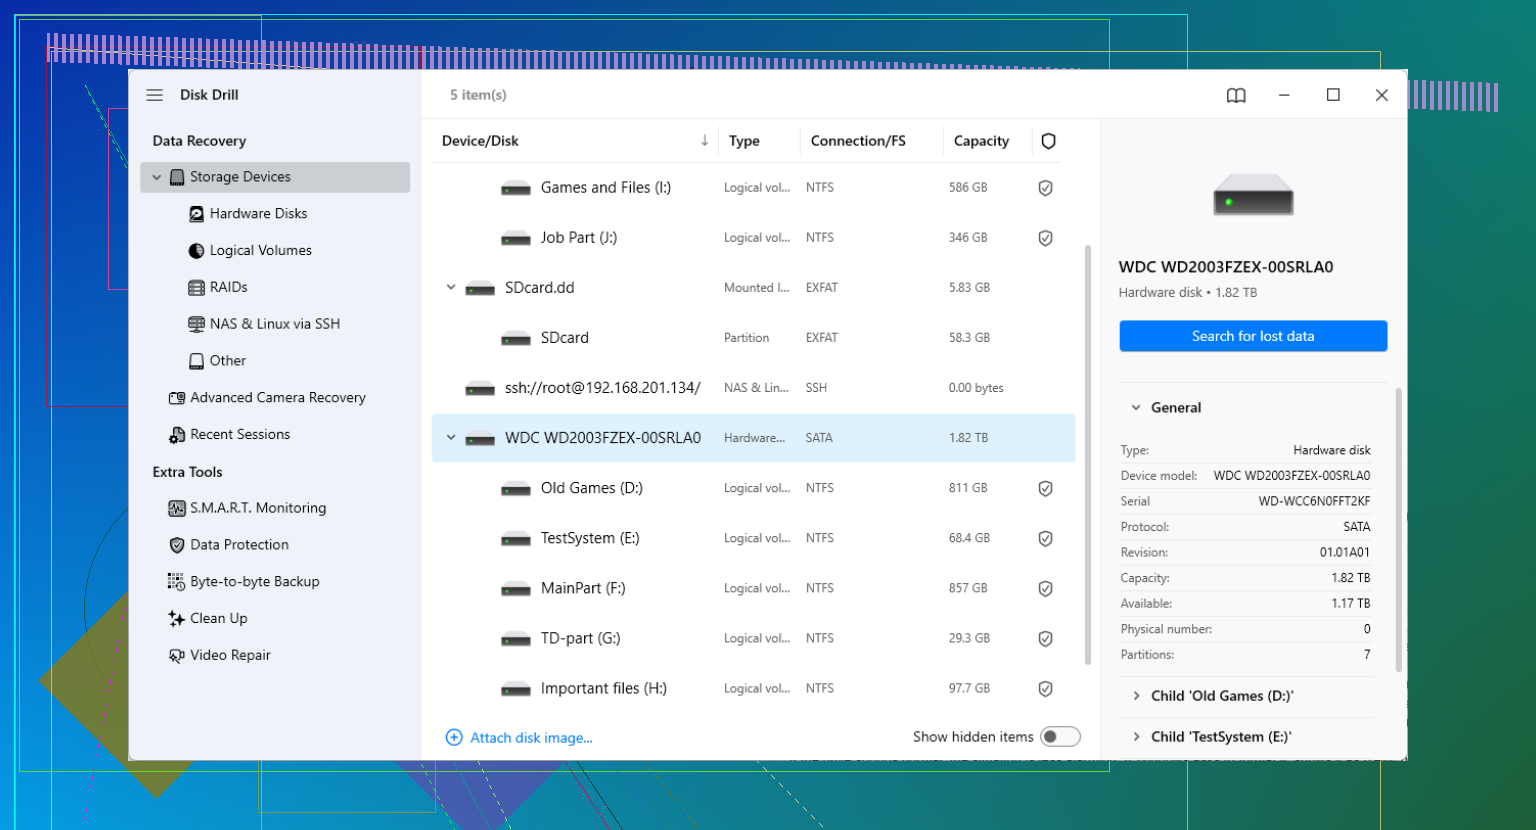
A long recovery scan can be the thing that finishes off a weak drive, even if it sounds fine at first. If those photos/work files are truly irreplaceable, I’d price out Seagate’s recovery option before running Disk Drill or anything else, because DIY is mainly safe when the drive stays connected and you can image it first.
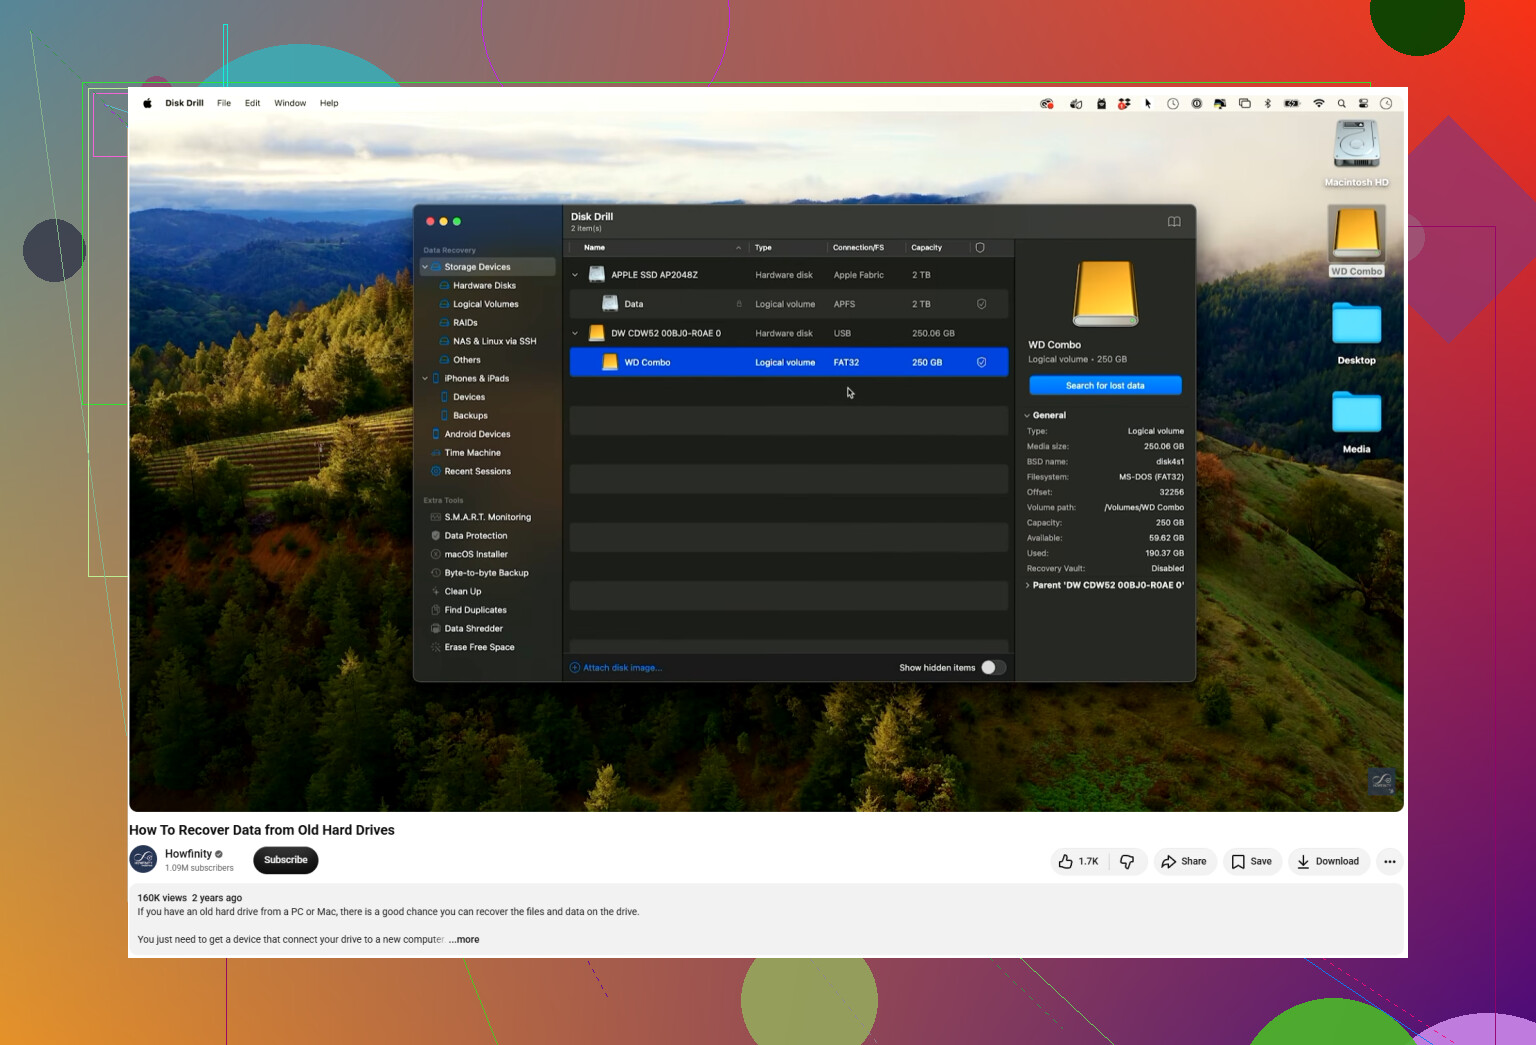
If the drive is a little USB-powered Seagate portable, I’d rule out the boring cable/power/enclosure problem before assuming the disk itself is dead. Those drives can disappear from Windows just because the USB cable is flaky or the port cannot supply stable power. Try a short known-good cable, a rear motherboard USB port if it’s a desktop, and no hub. If it’s a larger desktop external with its own power brick, try the original adapter if possible.
That said, don’t keep “trying stuff” all afternoon. A few connection tests are fine. Repeated unplugging, Windows repair prompts, and random utilities are where people make things worse.
The big thing I don’t see mentioned enough is this: do not run CHKDSK or “repair drive” as your first move. Windows may offer to fix the drive, and it sounds harmless, but CHKDSK is meant to repair the file system, not recover your photos. On a damaged file system it can rename, move, truncate, or discard file records. Sometimes it helps a drive become readable again, but if the files matter, recovery first, repair later.
If Disk Management sees the Seagate with the right capacity, that’s a good sign for DIY. It doesn’t have to show a drive letter. It doesn’t even have to show a healthy partition. Correct size means the computer is at least talking to the device. Wrong size, zero bytes, constant disconnects, I/O errors everywhere, or the drive vanishing mid-scan is a different story.
I’m a little more conservative than some people on the “just scan it” approach. Disk Drill or a similar recovery tool is fine when the drive is stable, but I would not make the first scan a deep scan of the actual failing disk if the data is valuable. Make an image/clone first if you can. Then scan the image. The annoyance is that you need another drive with at least as much free space as the Seagate, which people often forget until they’re already stressed.
So the rough decision tree would be:
- New noises, clicking, grinding, beeping, spin-up loops: stop and look at professional recovery.
- No weird noises, shows correct size in Disk Management: DIY is reasonable, preferably image first.
- Shows up sometimes, then drops: cable/port/power test once or twice, then stop pushing it.
- Windows asks to format: say no.
- Windows asks to repair: say no for now.
- Recovery finds files: save them to a different disk, never back to the Seagate.
I’d also be careful about opening the enclosure. People suggest “just shuck it and plug it into SATA,” but that can void warranty/Rescue coverage, and on some portable externals it may not even help because the USB interface may be part of the drive electronics. If it’s still under some kind of Seagate recovery coverage, cracking it open is probably the wrong first step.
For home recovery, the safest mindset is “read only, copy out, then experiment.” Don’t format, don’t initialize, don’t rebuild partitions, don’t run repair tools, and don’t test the drive to death before copying the important stuff. Once the files are recovered somewhere else, then you can run SeaTools, reformat, warranty it, or toss it. Until then, treat the Seagate like a source you’re trying to read as little as possible, not a drive you’re trying to fix.
If that Seagate was encrypted with BitLocker, Toolkit, or any backup software, recovery at home depends on having the password/recovery key first. Tools like Disk Drill can find recoverable data, but they won’t magically turn encrypted blocks back into photos without the key.