I accidentally deleted important files from my HFS-formatted external hard drive on my Mac. I haven’t copied anything new to it yet, but I’m not sure what recovery software or steps are safest. What’s the best way to recover deleted files from an HFS external drive without making the data loss worse?
If the files are important, don’t treat this like you’re trying to “fix” the drive. Treat it like recovery first, repair later. That means don’t format it, don’t keep running First Aid over and over, don’t copy anything onto it, and don’t install recovery software on that same HFS drive.
With HFS and HFS+, deleted files often aren’t wiped right away. The file system usually just marks that space as free, so the data can still be there until something else gets written over it. That’s why older external drives can sometimes recover pretty well, especially compared with an internal Mac drive that macOS is constantly writing to in the background.
Before running a scan, I’d do a quick sanity check on the drive:
- See if it shows up in Disk Utility with the correct size.
- Try a different cable, USB port, or Mac if it keeps dropping out.
- Check SMART status if the enclosure actually passes that info through.
- If it freezes, disconnects, throws read errors, or SMART looks bad, make a disk image first and scan the image instead of hammering the physical drive.
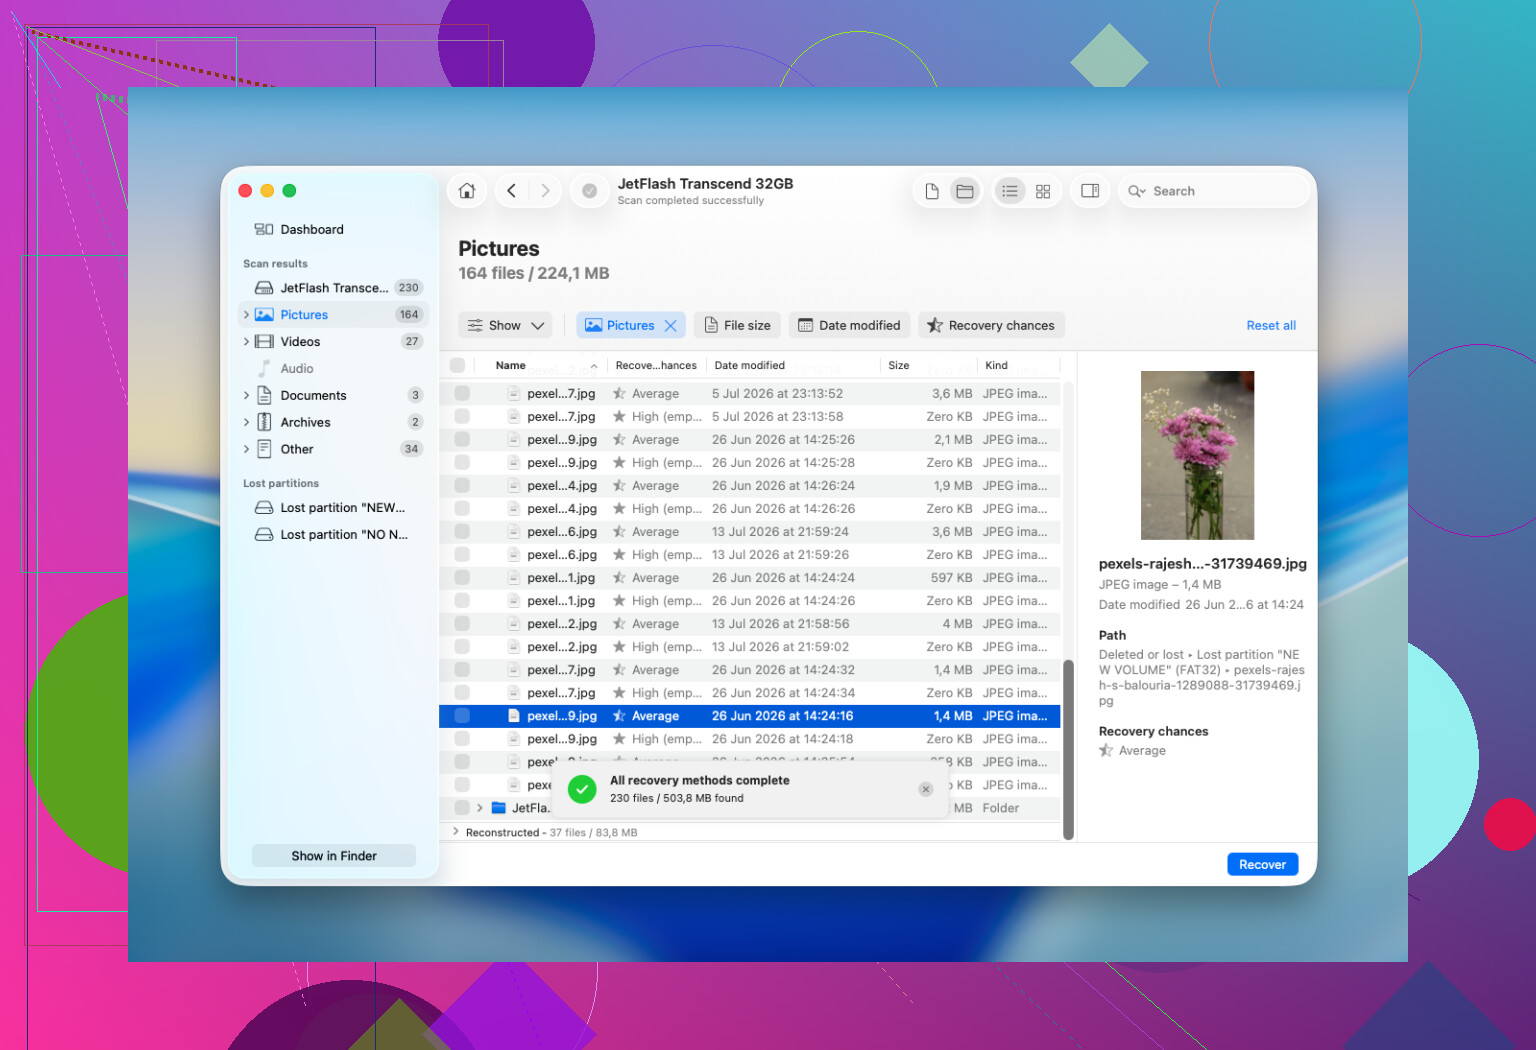
For normal HFS file recovery, Disk Drill is usually the first thing I’d try. It supports HFS and HFS+, works with Mac internal and external drives, and can scan a drive even if Finder won’t mount the volume, as long as the device still appears with the right capacity. The preview feature helps too, since you can check whether photos, videos, documents, etc. are actually usable before recovering them.
The basic flow is:
- Install Disk Drill on your Mac, not on the drive you’re recovering from.
- Connect the old external drive.
- Open Disk Drill and select the whole physical disk if it gives you that option, not just the visible HFS volume.
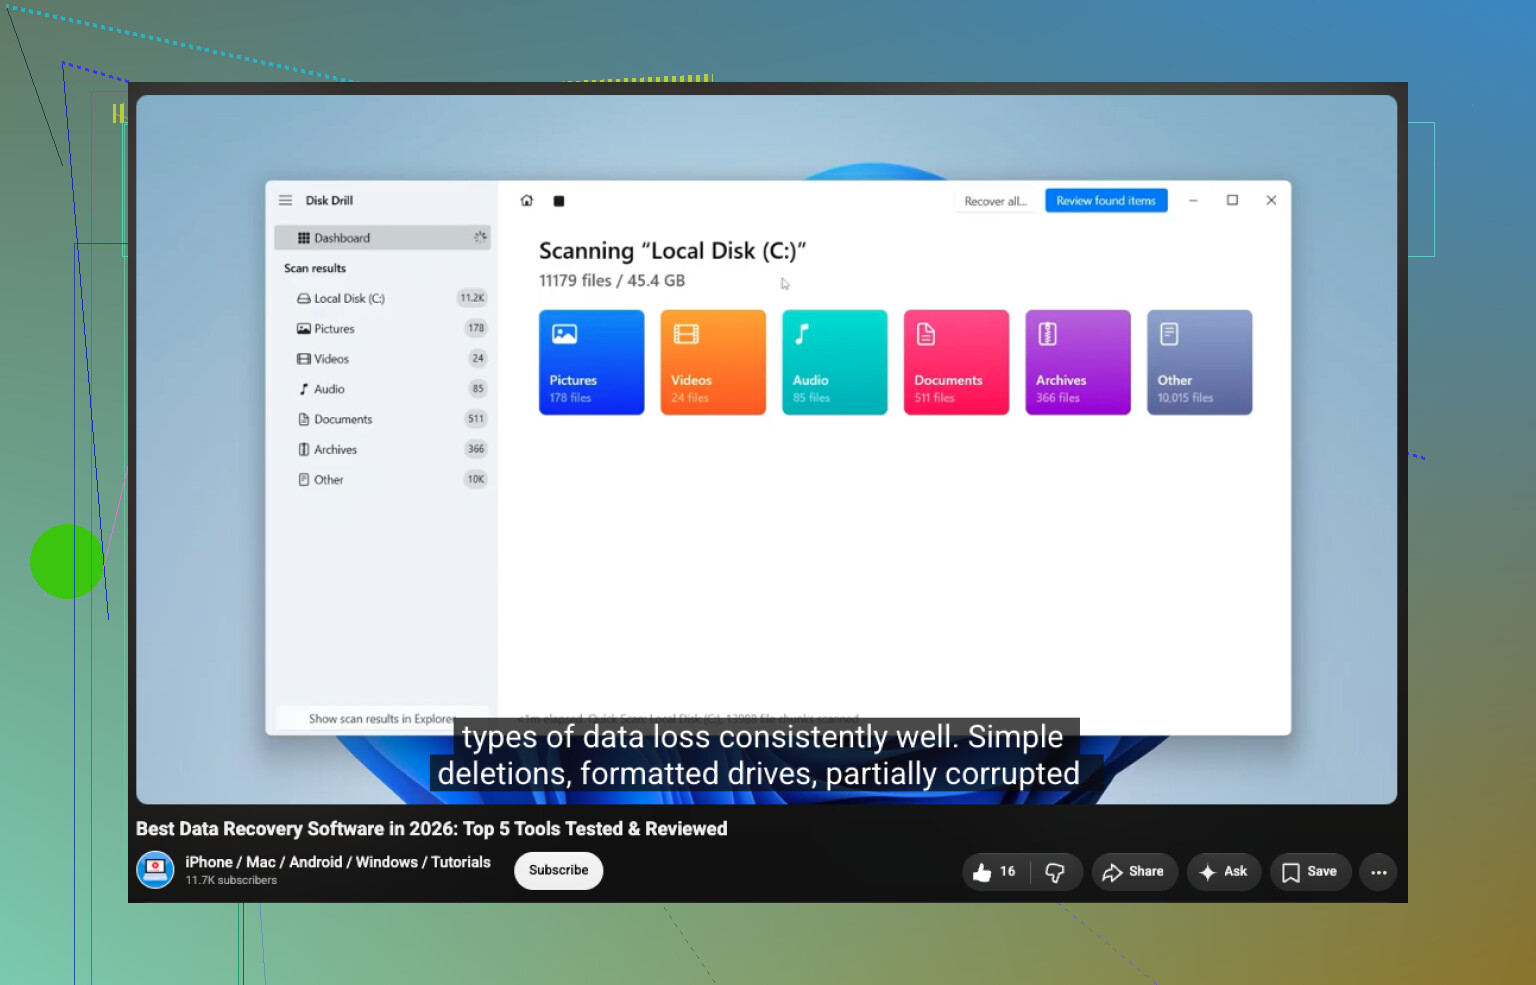
- Click Search for Lost Data and use Universal Scan.
- Let the scan finish.
- Open Review Found Items.
- Check Deleted or Lost and Reconstructed.
- Preview the important files before recovering them.
- Select what you need and click Recover.
- Save the recovered files to another healthy drive.
Do not save recovered files back onto the same HFS disk. That can overwrite other deleted data that hasn’t been recovered yet.
If the drive seems flaky, I’d use Disk Drill’s disk image feature before doing the main scan:
Make the image on a different drive with enough free space, then scan that image inside Disk Drill. It won’t repair the original disk, but it reduces how much the failing hardware has to be read.
Also check the simple stuff first. Look in the Trash, since external Mac drives can have their own hidden Trash folders. If Time Machine has a backup from before the files disappeared, use that instead of recovery software. TestDisk can be useful if the whole HFS partition was deleted or lost, but it’s text-based and easy to mess up if you’re not used to it. I’d think of it more as a partition recovery tool, not the best choice for getting back one deleted folder.
A quick format doesn’t always mean the data is gone. Often the file system records get replaced, but a lot of the old file contents may still be sitting there. The big question is how much the drive was used afterward. If the original HFS records are gone, you may get files back without the original names or folder structure, especially when the scan has to rebuild files by signature.
One thing to watch out for on Windows: Windows doesn’t understand HFS+ by default. It may show the drive as RAW and ask to format it. Don’t do that. Cancel the prompt. Some recovery tools on Windows can still scan the disk, but a Mac-based scan is usually better if you care about keeping the original folder structure.
I’d stop DIY recovery if the drive:
- clicks, grinds, buzzes, or keeps spinning up repeatedly
- disappears from Disk Utility
- disconnects every few seconds
- makes the Mac freeze
- scans painfully slowly because of constant read errors
- has irreplaceable data and this is the only readable copy left
Those are more like physical failure symptoms, not just HFS corruption or a deleted folder. Software can’t fix damaged heads, bad electronics, firmware problems, or badly degraded media. At that point, repeated scans can make things worse, and a recovery lab is the safer option.
For a healthy old HFS external drive where files were just deleted, I’d stop using it, check Trash and Time Machine, scan with Disk Drill, preview what it finds, and recover to another disk. If the drive is unstable, image it first. If it’s clicking, disappearing, or clearly failing, stop powering it on and consider a lab.
https://www.youtube.com/watch?v=oJ1aQPFxTag
A plain delete is much less scary than a reformatted or failing drive, because with HFS the old catalog info may still be around if nothing has written over it yet. The annoying catch is that mounting the disk read/write can still create small hidden changes, so I’d mount it as little as possible and recover from another Mac drive, not from the external itself. Disk Drill is fine to try here, but don’t judge the scan only by the first neat folder tree it shows. Check the “lost/reconstructed” type results too, because deleted HFS files can show up there with ugly names even when the contents are still good. Recover a few important files to a separate disk first and open them before doing a huge batch. If those previews fail or the drive starts stalling, stop scanning the original and image it before continuing.
Recovering to your Mac’s internal drive is fine; recovering back to the HFS external is the part that can ruin the remaining deleted files.
A lot of people hear “don’t use the drive” and think that means the Mac itself is off limits. It isn’t. You can install Disk Drill or another recovery app on your Mac, or on a second external drive, then scan the deleted-from HFS disk. What you must avoid is using that HFS disk as the destination for recovered files, downloads, app installs, disk images, exports, or anything else.
I’d be a little stricter than the earlier advice on “try a scan first.” If the deleted files are worth a lot to you, make an image before doing any big scan, even if the drive seems healthy. Scanning is mostly reading, but it can take hours, and old USB external drives sometimes decide to become “not healthy” halfway through. An image gives you a second shot if the original starts acting weird. The annoying part is that you need another drive with at least as much free space as the whole external, not just the size of the missing files.
If you don’t have that much spare space, then yes, a direct scan is the practical route. Just keep it clean:
Connect the HFS drive only when you’re ready to scan.
Ignore any macOS prompts that offer to initialize, repair, or use it for Time Machine.
Scan it from recovery software installed somewhere else.
Preview before recovering a giant pile of files.
Recover the most important stuff first, to a different disk.
That last bit matters because recovery is not always all-or-nothing. You might get the main document back but not the original folder path. You might get photos with generic names. You might see duplicate-looking results where one opens correctly and another is junk. Don’t assume the prettiest folder tree is the best set of results. Try a few files before doing a massive restore.
Disk Drill is a reasonable choice for a Mac user because it can handle HFS/HFS+ and the interface is less hostile than the free forensic-style tools. The caveat is that “found” does not mean “good.” A recoverable file should preview or open after recovery. If it can’t preview, it may still be worth trying, but don’t celebrate until you’ve opened the recovered copy from the safe destination drive.
A cheaper path exists if money is the issue: PhotoRec can recover by file signatures, but it usually throws away names and folders. That is fine for a folder of JPEGs where you can sort later. It is miserable for work documents, music projects, app libraries, or anything where folder structure matters. For an HFS delete, I’d try a Mac-oriented recovery tool first if the original names matter.
Small thing people forget: if the deleted item was a package, recover the whole package folder, not random pieces inside it. A Photos Library, Final Cut library, Scrivener project, Logic project, some old iMovie libraries, and plenty of Mac apps store data as folder-like packages. Pulling out individual internal files can leave you with a mess that technically “recovered” but doesn’t open normally.
If the drive starts clicking, repeatedly disconnecting, or freezing Finder, stop. Don’t keep trying five different apps because each one “only reads.” Repeated reads on a failing disk are still stress. At that point the safer order is clone/image first, recovery second, or a lab if the files justify the cost.
For a normal accidental delete on a still-working HFS external, your chances are decent because you haven’t copied anything new to it. Just don’t turn a simple deletion into an overwrite by saving the rescue results back onto the same drive.
Don’t let Finder “helpfully” browse the drive while you decide what to do. On a Mac, opening the external disk, Quick Look previews, Spotlight indexing, thumbnail generation, and hidden folders like .fseventsd can all create little writes. Usually small, but when you are trying to recover deleted files, small writes are still writes.
I agree with the others that recovering to another disk is the big rule, but I’d go a bit more boring and cautious before launching any recovery app: disconnect the drive until you have your destination drive ready, then connect it only for the scan or imaging. If macOS asks to use it for Time Machine, ignore that. If it starts indexing, eject it and consider turning off indexing for that volume before trying again. The goal is to keep the source disk as untouched as possible.
Disk Drill is a reasonable Mac-friendly option for this because it understands HFS/HFS+ and lets you preview results, but don’t use the external drive as a workspace for anything. If the files are just normal deleted files and the disk is healthy, scan it and restore the important ones first to your internal drive or a second external. If the files are irreplaceable, image the whole drive first and scan the image. If that sounds like too much work, at least avoid browsing, repairing, formatting, or “cleaning up” the HFS drive before recovery. That is where people accidentally turn a recoverable delete into a worse problem.