I accidentally deleted the wrong folder from my external hard drive, and it had important photos and work files I still need. I’m looking for help with external hard drive data recovery, including the safest steps to try, whether recovery software might work, and how to avoid making the problem worse.
I’ve seen people write off a drive too fast, then find out the files were still sitting there the whole time. Lost access does not always mean the data is gone. I learned this the ugly way after wiping a folder of family photos and feeling my stomach drop for a solid minute. If this happened to you, don’t keep poking at the drive.
When photos get deleted from an internal or external drive, the storage usually does not erase them on the spot. The file system removes the map entry for those files and marks their old space as free for future writes. So the photos often still exist for a while. The problem starts when new data lands on top of them.
First rule, stop using the drive now. If it is an external drive, eject it and unplug it. If the files were on your main internal system drive, treat it as more urgent. Your OS keeps writing logs, cache, temp junk, and other small background stuff. If the computer stays on and keeps running from the same drive, the odds of overwriting the deleted photos go up. Best move, shut the machine down, pull the drive if possible, and connect it to another computer as a secondary drive. Internal or external, same issue applies. If you keep using the same disk, you risk overwriting the exact sectors where the deleted photos still sit. After overwrite, software won’t save you.
If the drive sounds normal, spins up, mounts, and does not show obvious hardware failure signs, recovery software is usually the practical path. I would not jump straight to a lab for a plain accidental delete.
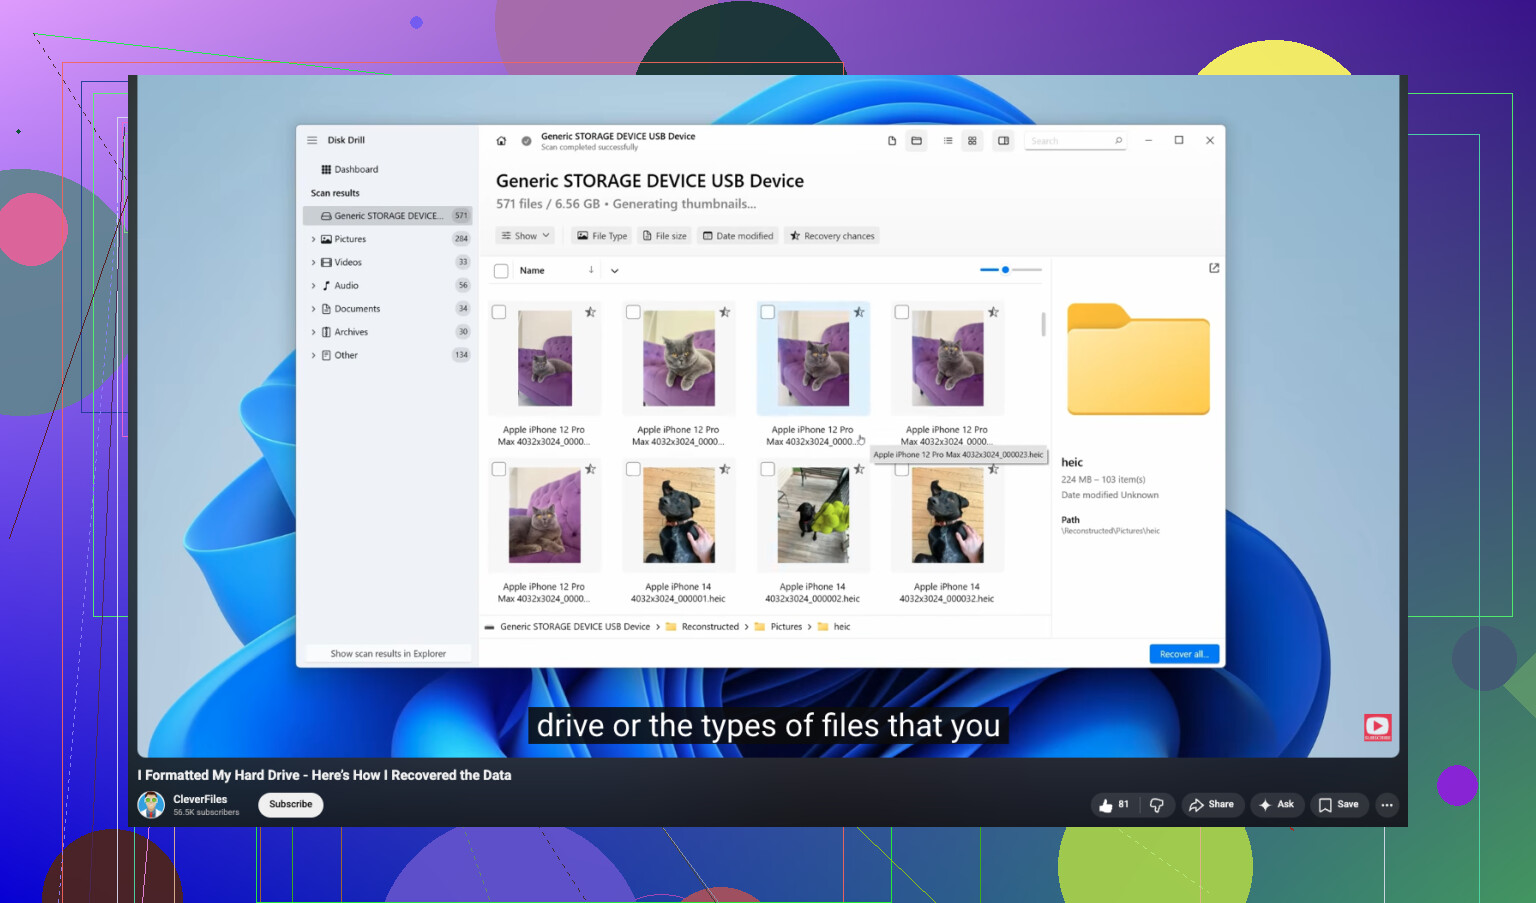
I’ve tried a pile of recovery apps over the years on desktop drives and portable externals. The one I had the least trouble with was Disk Drill. For photos, it did better than I expected. The layout is easy enough if you don’t want to fight the software first. Its scan also picks up a lot of raw photo and video formats. You can scan and preview files for free. If the preview opens cleanly, your photo is usually still intact.
- Install it somewhere else. Put the software on a different drive. Do not install it onto the same internal or external drive where the photos were deleted.
- Make a disk image first. If the tool offers imaging, use it. This creates a byte-for-byte copy of the drive as one image file stored on a healthy disk.
- Scan the image, not the original drive. I do this when I don’t want to risk extra stress on the physical disk. It also cuts down on dumb mistakes.
- Restore files to a new location. Let the scan finish. Filter for images. Check previews. When you recover anything, save it to another storage device, not back to the problem drive.
There are cases where I would stop the DIY route and hand it off to a recovery lab.
- The drive makes bad noises. Clicking, grinding, scraping, or beeping is a bad sign. I would stop right there.
- The drive does nothing. No spin, no lights, no response. Could be a failed board or another internal fault.
- The computer does not detect it at all. If it won’t appear even after different ports, cables, or another machine, this starts looking like hardware trouble.
- The corruption is severe. If software cannot read the drive well enough to work with it, you’re outside normal home recovery territory.
Recovery labs use cleanroom setups and tools regular users do not have. It gets expensive fast, yep, but if the photos matter and the internal or external drive is failing physically, that route makes more sense than gambling with repeated retries.
I hope you get the files back. After I recovered mine, I changed how I store photos because I did not want round two of the same mess. If you recover yours, set up backups right away. Even one extra copy on another drive helps a lot.
First, check the easy stuff. On some external drives, deleted files go to a hidden trash folder like .Trashes or $RECYCLE.BIN, not gone for good. Plug it into the same OS you used when you deleted the folder. Show hidden files. Search the drive for a few exact file names.
I agree with @mikeappsreviewer on stopping writes, but I would add one thing. Verify the file system before scanning. If the drive is exFAT, NTFS, or APFS, recovery results differ a lot. NTFS often keeps more metadata, so folder names and paths recover better. exFAT often loses structure faster.
If the drive is healthy, Disk Drill is a solid pick for external hard drive data recovery because it previews photos and docs well. I’d sort results by file type first, then by original path if availible. Recover to another disk only. If the folder had Office files, search by extension too, docx, xlsx, psd, pdf.
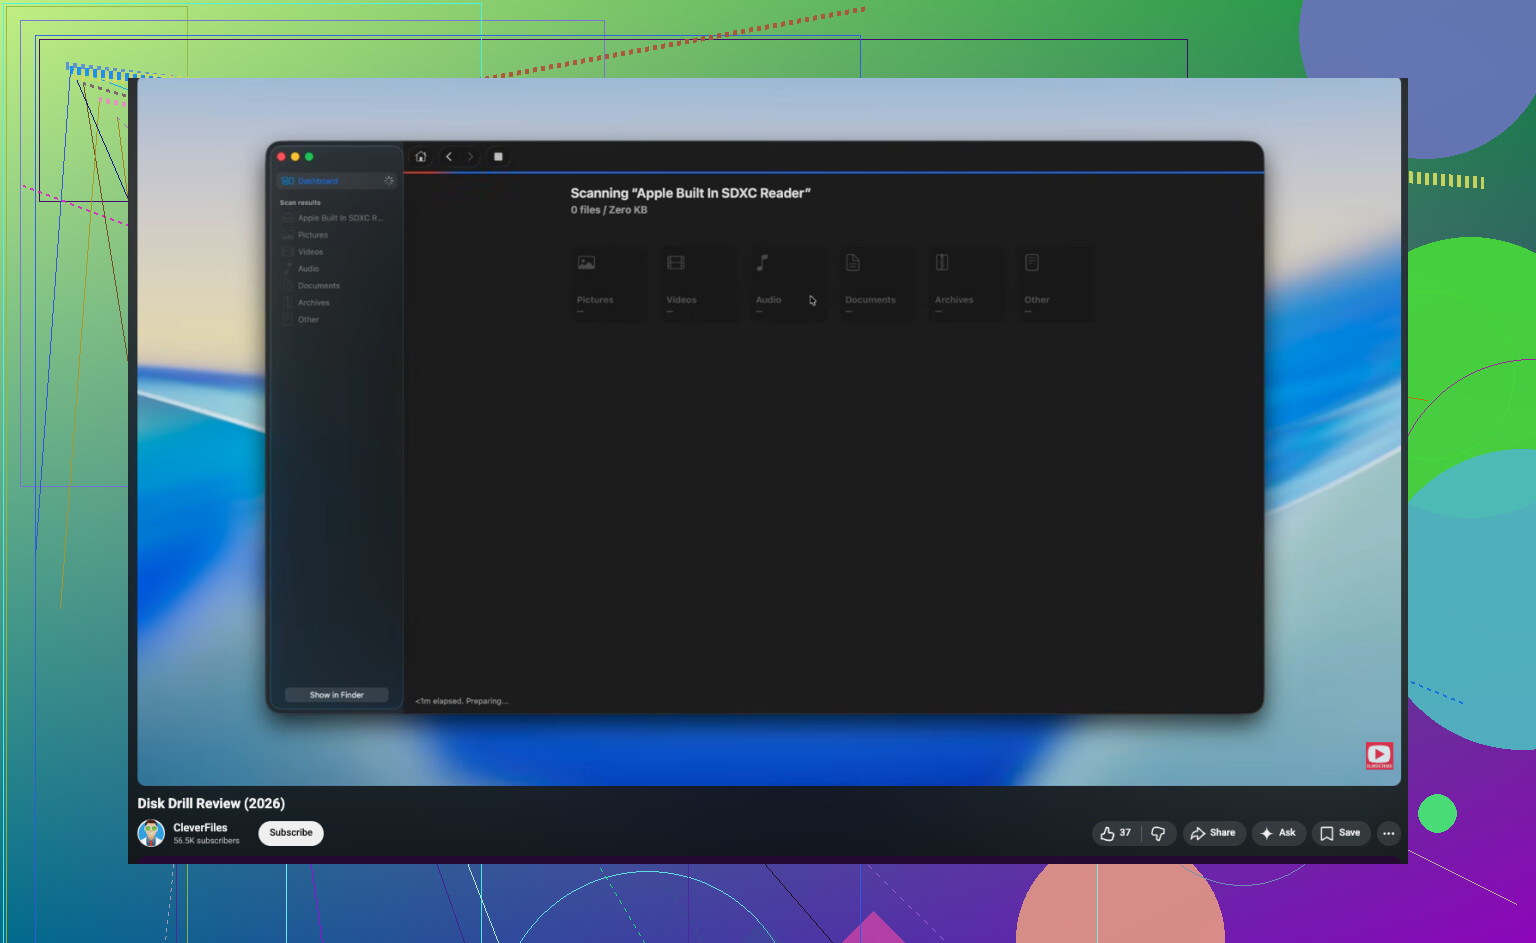
If you want a visual walkthrough, this YouTube guide for formatted hard drive data recovery is easy to follow, even if your case is deletion, not formatting.
If SMART shows bad sectors or the drive disconnects mid-scan, stop. DIY gets risky fast. That’s where a lab makes more sense.
I’m gonna disagree a little with @mikeappsreviewer and @techchizkid on one point: don’t rush into running repair tools like CHKDSK, First Aid, or anything that says “fix disk” before recovery. People do that thinking it’s harmless, and sometimes it “repairs” the file system by removing the very references you needed. For accidental folder deletion on an external drive, recovery first, repairs later.
What I’d do:
- Disconnect the drive and leave it alone.
- If it’s super important stuff, clone the drive first with a sector-by-sector image.
- Work from the clone, not the original.
- Recover files to a totally different disk.
Also, check whether the delete was logical, not physical. If you deleted through Finder or File Explorer, sometimes the external drive used that system’s recycle area. Not always, but it’s worth checking before a deep scan.
For software, Disk Drill is one of the better options for external hard drive data recovery because it’s easy to sort by deleted files, file type, and recoverable previews. That matters a lot for photos and work docs when you’re triaging what’s still intact. If you want a simple Disk Drill review and recovery walkthrough, that gives a decent overview of how it works before you start clicking around.
One more thing people forget: if the drive is an SSD in an external enclosure, recovery odds can be worse because of TRIM. If it’s a regular HDD, your chances are usualy better. If the drive starts clicking, dropping offline, or gets crazy slow, stop DIY stuff. That’s lab territory, no question.
One thing I’d add to what @techchizkid, @stellacadente, and @mikeappsreviewer said: check whether the “deleted folder” was actually a move glitch or hidden attribute issue before doing a full recovery pass. External drives sometimes get weird after disconnects and a folder can reappear under a different parent directory, with permissions changed, or marked hidden/system. On Windows, search the whole drive by a couple exact filenames and sort by modified date. On Mac, use Spotlight plus find in Terminal if needed. I’ve seen people recover nothing because the files were never truly deleted.
I also slightly disagree with doing a long scan first if the drive is huge and stable. Start with a quick metadata-based pass. If the file system records are still there, that often gets you original names and folder structure faster. Only then do the deep signature scan.
For external hard drive data recovery, Disk Drill is fine for this kind of job.
Pros
- easy previews for photos/docs
- decent filtering by type and path
- can image the drive first
- good for simple accidental deletion cases
Cons
- deep scans on large drives take forever
- recovered folder structure can be messy on exFAT
- full recovery requires paid version
- not the tool I’d trust for a physically failing disk
My order would be:
- Stop using the drive.
- Check hidden trash/recycle area and hidden folders.
- Confirm whether it’s HDD or SSD.
- If possible, make an image.
- Run a quick scan first, then deep scan if needed.
- Recover to another disk only.
If files are business-critical, honestly, one scan attempt from a clone beats repeatedly testing the original.