I accidentally permanently deleted important files on my Mac and already emptied the Trash before realizing I still needed them. I’m trying to figure out the best way to recover deleted files on Mac without causing more data loss, especially since some of the files are work-related and time-sensitive. What should I do first, and are there any safe recovery methods that actually work?
I messed this up once on my Mac, emptied Trash, froze for a second, then found out it was not always the end. What hurts people most is keeping the Mac in normal use after it happens. On SSDs, macOS starts reusing free space fast, and once old blocks get overwritten, recovery drops off hard.
I’d go in this order.
1. Check Time Machine and iCloud first
This is the quick win if you had either one doing its job.
- Open the folder where the file used to live, then enter Time Machine.
- Jump back to a backup from before you emptied Trash.
- Restore the file.
- Then sign in to iCloud.com and check Recently Deleted, especially for documents and photos.
If the file shows up there, you’re done in a few minutes. No scanning, no guesswork.
2. Check for APFS snapshots
A lot of Mac users miss this one. macOS often keeps local APFS snapshots even when full Time Machine setup was never finished. I’ve seen people skip this step and go straight to recovery tools, which is backwards.
Open Disk Utility, pick your APFS Data volume, and see whether snapshots exist from before the deletion. If one does, there’s a decent shot your missing files are still inside it.
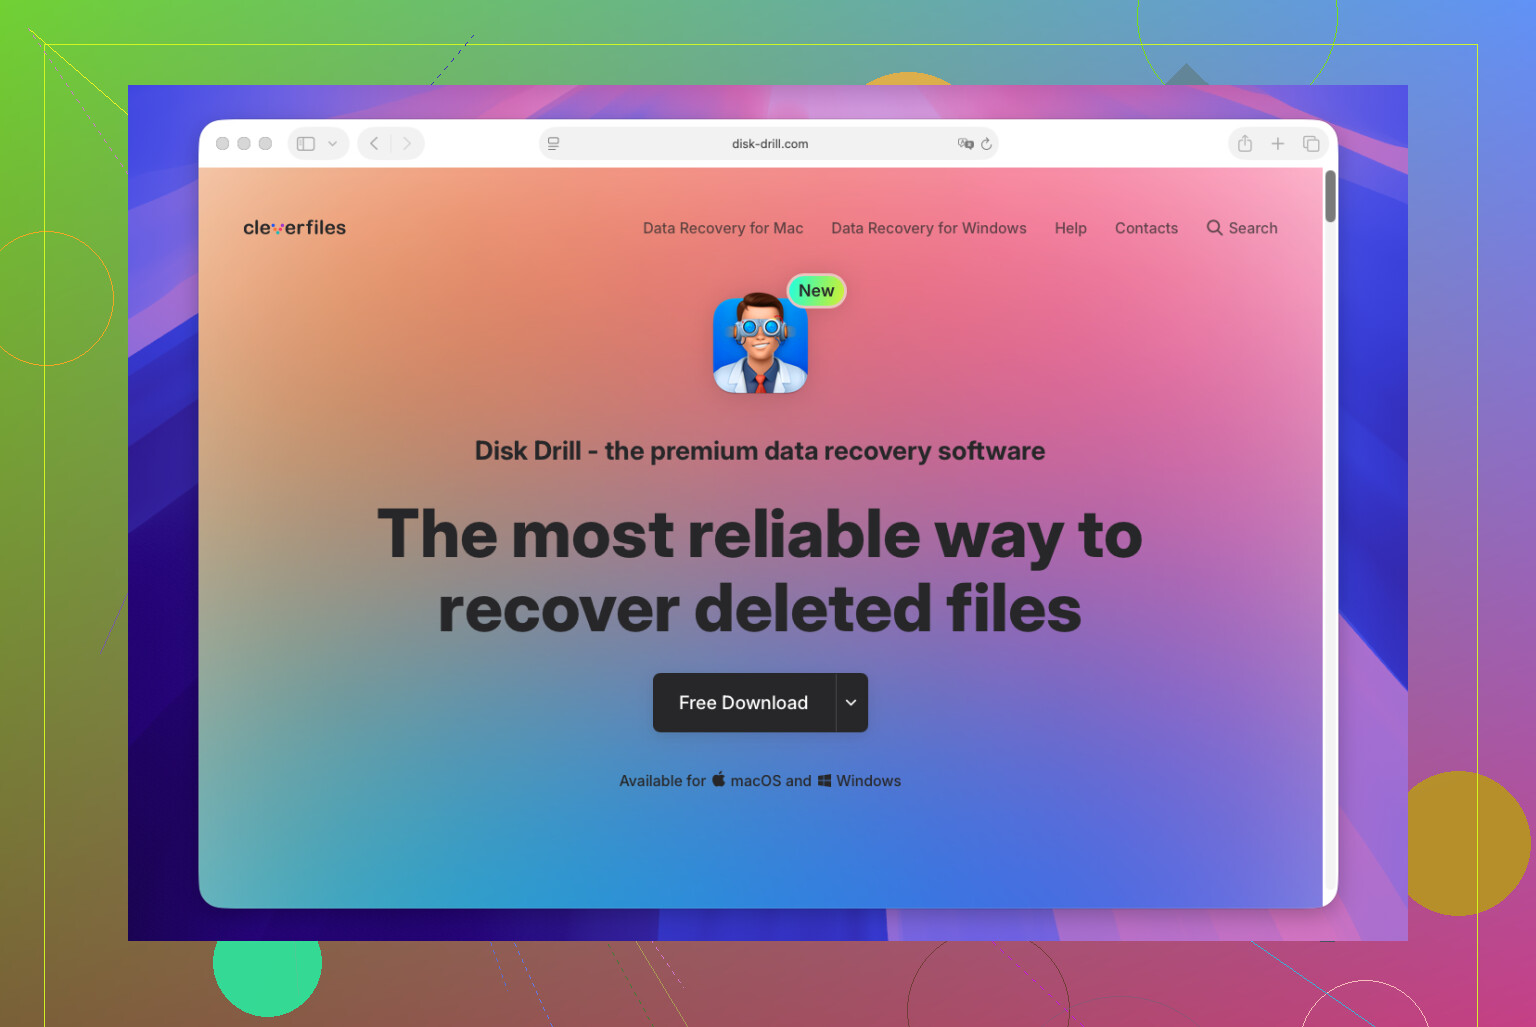
3. Use recovery software if backups came up empty
If there’s no backup, this is usually the practical move. Disk Drill is one of the easier options on modern Macs, including newer macOS builds and Apple Silicon systems.
- Install it.
- Select the drive where the deleted files were stored.
- Run the scan.
- Preview what it finds.
- Save recovered files to a different drive if you have one.
There are free tools, like PhotoRec. I tried those before. They work, sort of, but the experience is rough. File names often come back mangled or gone, and folder structure is usually a mess.
The ugly part is TRIM. SSDs use it to wipe deleted data faster than old spinning drives ever did. So timing matters a lot more on a Mac with solid-state storage. If you keep installing apps, downloading files, or even doing routine stuff, you’re making recovery worse by the minute. Bit harsh, but true.
If this were my machine, I’d stop using it right away, check Time Machine, check iCloud, look for APFS snapshots, then run a scan. I’ve seen files come back after Trash was emptied, even when people thought they were cooked. Fast action matters. Slow action, not so much.
Stop writing to the Mac first. That matters more than people think.
I agree with @mikeappsreviewer on stopping use fast, but I would put one thing higher than APFS snapshot hunting. Check app-specific trash and cloud version history. A lot of files get “deleted” inside the app first, not at the file system level.
Try these before a full disk scan:
-
Look inside the app you used
Pages, Word, Excel, Photoshop, Notes, Photos, and some PDF apps keep their own recovery history.
Word and Excel often keep AutoRecovery files.
Adobe apps leave temp data in Library folders.
Photos has Recently Deleted inside the app, separate from Finder Trash. -
Check version history
If the file lived in iCloud Drive, Dropbox, Google Drive, OneDrive, or even some NAS sync apps, open the web dashboard and restore an older version. This saves file names and dates, which raw recovery tools often lose. -
Search temp and autosave folders
Finder, Go to Folder:
~/Library/Containers
~/Library/Autosave Information
~/Library/Application Support
~/Library/Group Containers
Search by file type, not name. Names get lost. File extension still helps.
- If none of that works, use Disk Drill
On modern Macs, Disk Drill is one of the cleaner options for deleted file recovery on Mac. Preview first. Recover to an external drive, not back to your Mac. If your SSD has TRIM, results drop fast, so move quick.
Also worth watching, step by step Mac deleted file recovery tutorial
If the files are business-critical, shut the Mac down and use a pro service. Kinda expensive, but less expensive than losing the data forevr.

One thing I’d add to what @mikeappsreviewer and @chasseurdetoiles said: check whether the files were ever opened from inside another app and silently duplicated somewhere weird. macOS apps love making temp copies, exported versions, or autosaved packages that are not in the original folder. I’ve recovered stuff before by searching for content, not filenames.
A few things I’d try that they didn’t really get into:
- Spotlight search with kind:document, kind:image, file extensions, and date filters
- Terminal
mdfindsearches if Finder search misses it - Check external drives you used recently, especially if the app defaulted to saving there
- Open “Recents” in Finder. Sometimes the original path is gone but the file entry still helps you trace a duplicate
- If it was an email attachment, re-download it from Mail or the webmail portal
I slightly disagree with snapshot-checking as an early step for average users, mostly because people burn time there and get nowhere. If you know your way around APFS, sure. If not, move on fast.
If you do need actual deleted file recovery on Mac, Disk Drill is fine because it previews results well and is less of a headache than command-line tools. Just recover to another drive, not the same Mac. Also, this thread on Mac hard drive file recovery software options is worth skimming.
Short version: stop using the Mac, search for duplicates/temp copies, then scan. Time matters. TRIM is kinda brutal, not gonna lie.