I took several similar pictures on my iPhone and I’m having a hard time telling which one is sharper and better overall. I need a simple way to compare two photos side by side or quickly switch between them so I can choose the best shot without guessing.
Comparing close-looking iPhone photos sounds easy until you sit down and do it. I did this with a big library once, and it turned into a slow mess fast. A few methods work. One of them only helps with sharing. The other one is better for cleanup.
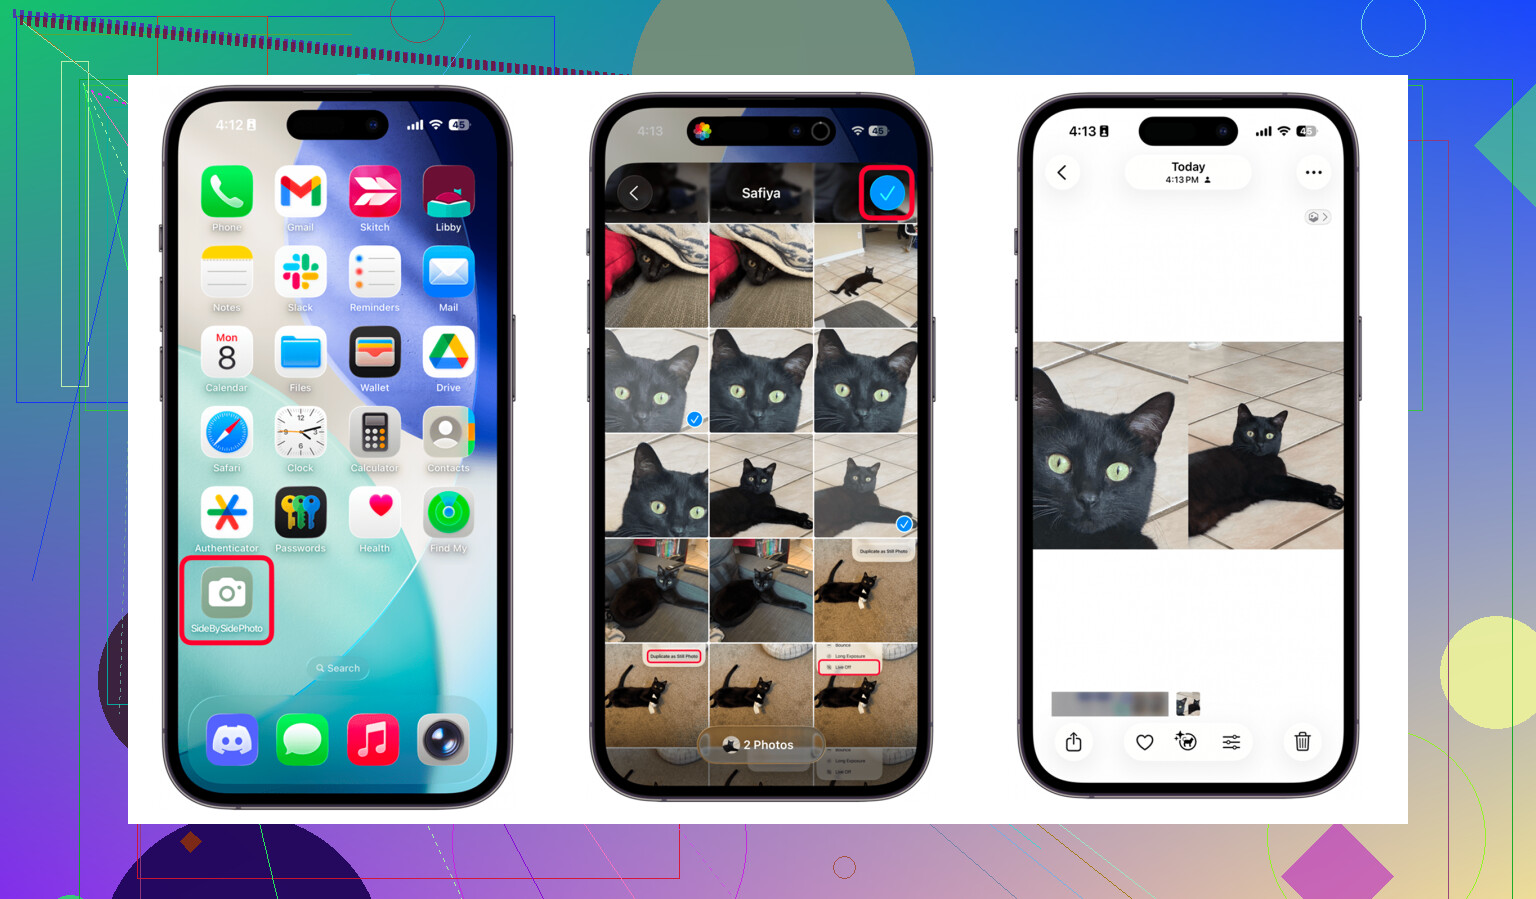
The Shortcuts route works, but only for one job
If you want a side-by-side image for sending to someone, or for a before-and-after post, Shortcuts does the job fine. No extra app needed.
Steps:
- Open Shortcuts.
- Tap the plus button.
- Add ‘Select Photos’ and turn on Select Multiple.
- Add ‘Combine Images’ and set it to Horizontal.
- Add ‘Save to Photos.’
- Save the shortcut with any name you want.
- Run it, pick two photos, and iPhone saves a combined image to your library.
That part is clean. I tried it, and it works.
The catch is storage. You are making a third file. So if your problem is a bloated photo library full of five versions of the same shot, this does nothing to fix it. It helps you export comparisons. It does not help you choose what stays.
Why Photos on iPhone feels bad for this
The built-in Photos app is fine until you need to compare tiny differences.
You swipe to one image. Then back to the other. Then in again to zoom. Then out. Then you forget which one had the softer focus. I kept doing this and still missed stuff like slight blur, weird exposure, or somebody blinking.
If your library is huge, this gets old quick. A lot of people keep everything because sorting it feels worse than the storage warning. That is how you end up with 15,000 photos and no clue what is safe to delete.
Another issue, file size info is buried. Videos are the worst for this. You have to open each one and tap Info. There is no proper size-first view in Photos, so the files eating all your storage stay hidden longer than they should.
What worked better for me
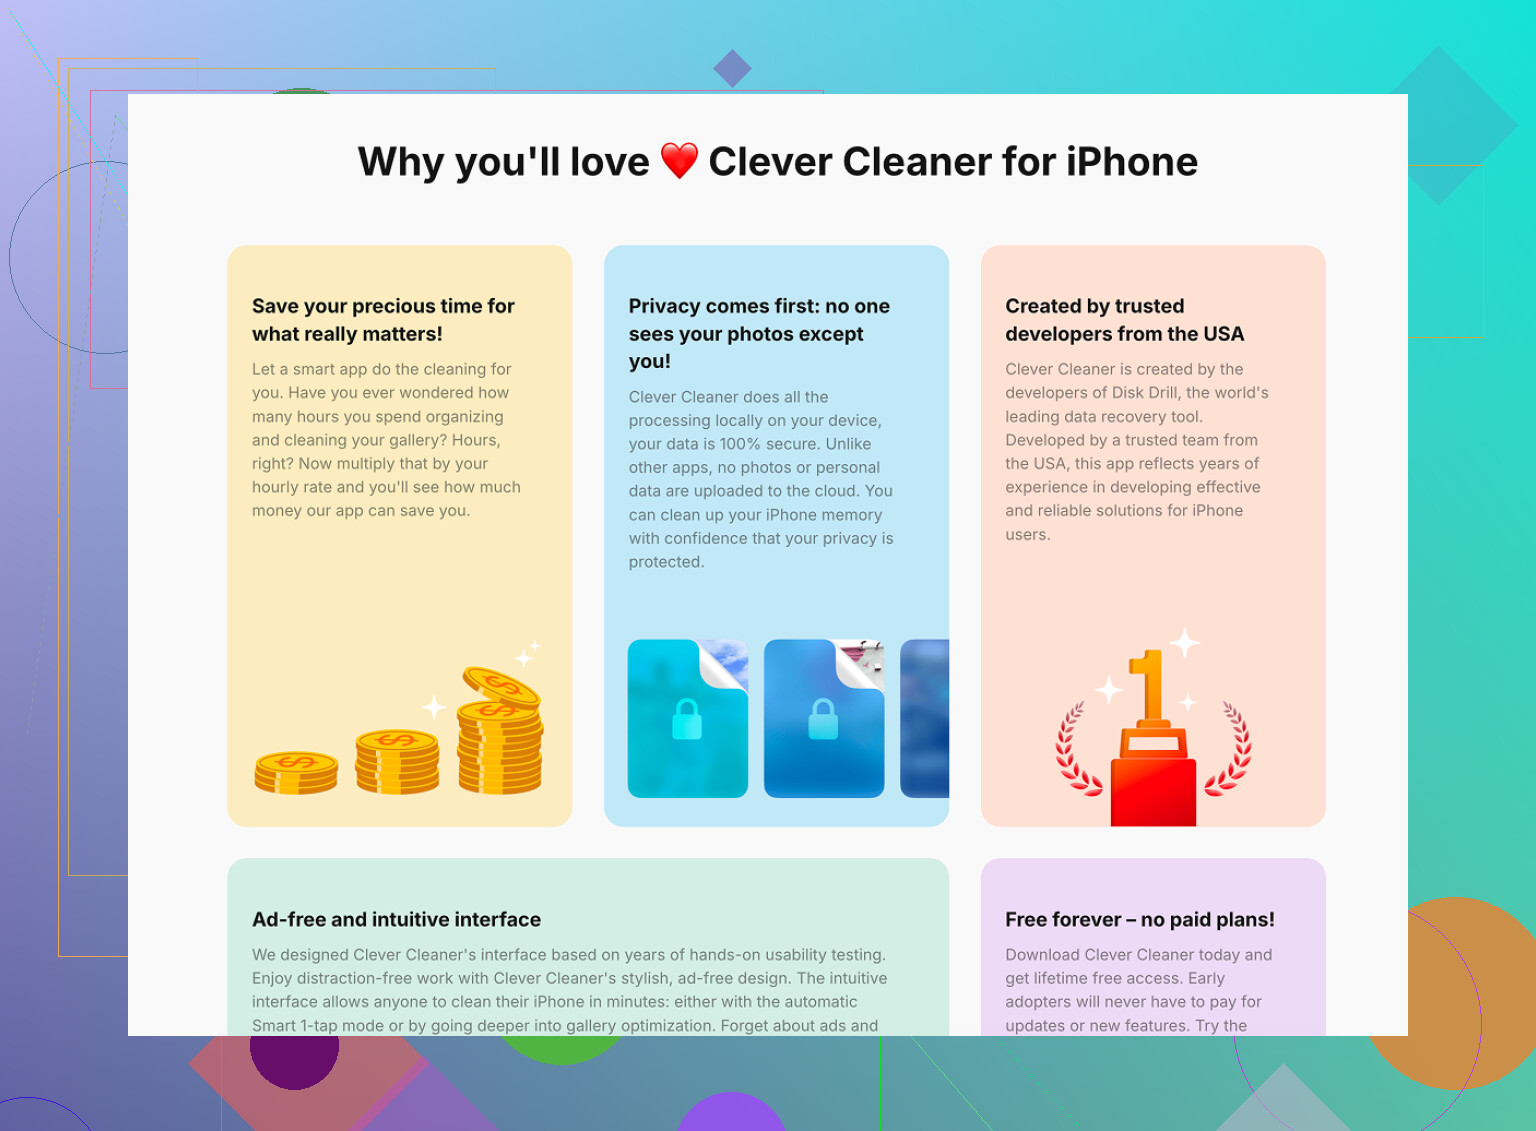
Clever Cleaner is the one I found more useful for the cleanup side.
The main thing it does right is grouping near-duplicate shots together. Same scene, small angle change, burst sequence, tiny lighting shift, all in one place. That saves a lot of pointless tapping.
How the similar-photo cleanup goes:
- Open Clever Cleaner.
- Tap the Similars tab.
- Let it scan your library. On a big library, this takes a few minutes.
- It puts matching or near-matching photos into groups.
- In each group, it marks a Best Shot.
- Check the group yourself if you want. I still did, even when the pick looked right.
- Use Smart Cleanup if you want the app to remove the extras.
- Deleted files go into the app’s trash first.
- Empty the trash later when you are sure.
The useful part is the grouping. You are not trying to remember one image while flipping to another. They are already clustered. It cuts the friction a lot.
I also liked that the Best Shot pick was trying to weed out blur and closed eyes. It is not magic, but it got plenty right in normal photo sets.
For storage hogs, skip straight to the biggest files
This mattered more than I expected.
The Heavies tab lists files from largest to smallest and shows the exact size. That is the kind of view Apple should have built in. One forgotten 4K clip can eat more space than a pile of regular photos. I found old videos near the top and got back more storage from deleting a few of those than from sorting hundreds of random pictures.
There is also a Screenshots tab. It shows screenshot sizes before you delete them. I found this faster than poking around inside the default Photos app folder view.
Then there is swipe mode. Photos are grouped by month, and you move through them one at a time. Left to delete, right to keep. Sizes are visible while you do it, so you see space savings as you go. Sounds small, but it helps when you are trying to decide if cleanup is worth the time.
Privacy part
Everything stays on the device. No uploads to some outside server. For personal photos, I care about that more than I used to.
So the split is simple
Use Shortcuts if you want to make a combined comparison image and save or share it.
Use Clever Cleaner if your problem is picking the best shot, clearing near-duplicates, and finding the files taking the most space.
I ended up seeing these as two different tools for two different annoyances. One makes comparison images. The other helps clean the mess.
I’d skip side by side for picking a winner. It sounds nice, but for sharpness it’s slower on an iPhone screen than people think.
What works better for me is this:
- Open the first photo.
- Zoom to the same spot each time, usually eyes or text.
- Swipe up, note shutter speed and lens info.
- Tap edit, then use the crop screen as a clean viewer.
- Flip to the next photo and check the exact same area.
The key is consistency. Check focus on one detail, then exposure, then facial expression. If one photo wins 2 out of 3, keep it.
If the shots are in a burst, open the burst stack and tap Select. Apple shows tiny dots under sharper frames, which helps a bit. It’s not perfect, but it’s faster then swiping blind.
I also disagree a little with @mikeappsreviewer on one point. Making a side-by-side image is fine for sharing, but it’s not the best way to judge image quality. Each photo gets smaller, so blur is harder to spot.
If you want a clean guide for making a comparison collage anyway, this is solid:
put two iPhone photos side by side for easier comparison
If your problem is bigger than two photos, Clever Cleaner makes more sense. It groups similar shots, which saves a ton of time when you took 8 near identical pics and your brain is fried lol.
I’d actually skip true side-by-side on iPhone if your goal is sharpness. @mikeappsreviewer is right that it helps for sharing, but @shizuka nailed the bigger issue: once both images get shrunk, it’s harder to judge fine detail.
What works better for me:
- Mark both photos as Favorites first so they’re easy to bounce between.
- Open one, zoom into the exact same spot on each photo. Eyes, hair, text, edges of buildings, whatever.
- Look for 3 things only: focus, motion blur, expression.
- Then check exposure. A slightly darker shot can still be the keeper if detail is better.
- If one pic instantly looks “cleaner” at 100 percent zoom, that’s probly the winner.
One underrated trick: in Photos > Albums > Duplicates, iPhone can catch exact dupes, but not near-identical shots very well. That’s where Clever Cleaner is more useful, since it groups similar photos so you can compare whole batches faster instead of doing the swipe-swipe-zoom routine for eternity. Way less annoying tbh.
Also, if you want a visual demo of the app before using it, this is helpful:
see Clever Cleaner compare similar iPhone photos and remove duplicates
My lazy rule: if I have to stare at two pics for more than 10 seconds to tell the diff, I delete one and move on lol.
I’d use one thing none of the others really leaned on enough: Live Photos. If your shots are Live, long-press each one and scrub the tiny motion. A photo that looks “almost the same” as the next one usually gives itself away fast when you see the half-second before and after. You’ll catch micro-blink, hand shake, and awkward expression way faster than by staring at a still.
That’s where I slightly differ from @shizuka and @mikeappsreviewer. Sharpness matters, sure, but sometimes the “best” photo is the one with the better face, posture, or moment, not the clinically sharpest one.
My quick filter:
- best expression
- least motion
- strongest subject separation
- only then sharpness
If you shoot people, this saves time.
For larger batches, @stellacadente’s general cleanup angle makes sense. Clever Cleaner is useful when it clusters similar shots so you can stop hunting manually.
Pros of Clever Cleaner
- groups near-duplicates well
- faster for big libraries
- helps reduce clutter
Cons
- “best shot” picks still need human checking
- another app in your workflow
- less useful if you only compare 2 photos once in a while
If it’s just two images, Live Photo scrubbing plus a fast zoom check beats building a side-by-side every time.