I’m trying to organize my iPhone photos into albums, but I’m worried about deleting or moving the original pictures by mistake. I recently cleaned up my photo library and realized I don’t fully understand how albums work in the Photos app. I need help figuring out the safest way to sort photos into albums without losing any originals.
A huge photo library looks worse than it is. I hit that wall after letting mine pile up for years, and the only thing that worked was doing it in order instead of poking at random folders and hoping for progress.
Do albums make extra copies?
No. Albums are pointers. I tested this the dumb way years ago by tossing the same photo into multiple albums and watching storage. It did not move. One image stays one file.
You can put the same shot in a trip album, a family album, and a favorites-style album, and your phone still keeps one original.
The part people mess up is deletion. If you delete the image from your main library, it vanishes from every album too. If you only want it gone from one album, use Remove from Album. Do not hit Delete unless you want it gone everywhere.
Clean first, organize second
I tried sorting a messy library before cleaning it. Bad idea. Blurry shots, accidental pocket photos, 17 versions of the same sunset, old screenshots from stuff I already forgot, all of it slows you down.
And yeah, near-full storage messes with the whole phone. I saw lag in places that had nothing to do with photos. Apps stalled, saving got weird, even simple stuff felt off. Phones need free space to breathe a little.
What sped this up for me was Clever Cleaner. No ads, no subscription wall, no nonsense. If your library goes back a long time, here’s the order I’d use.
-
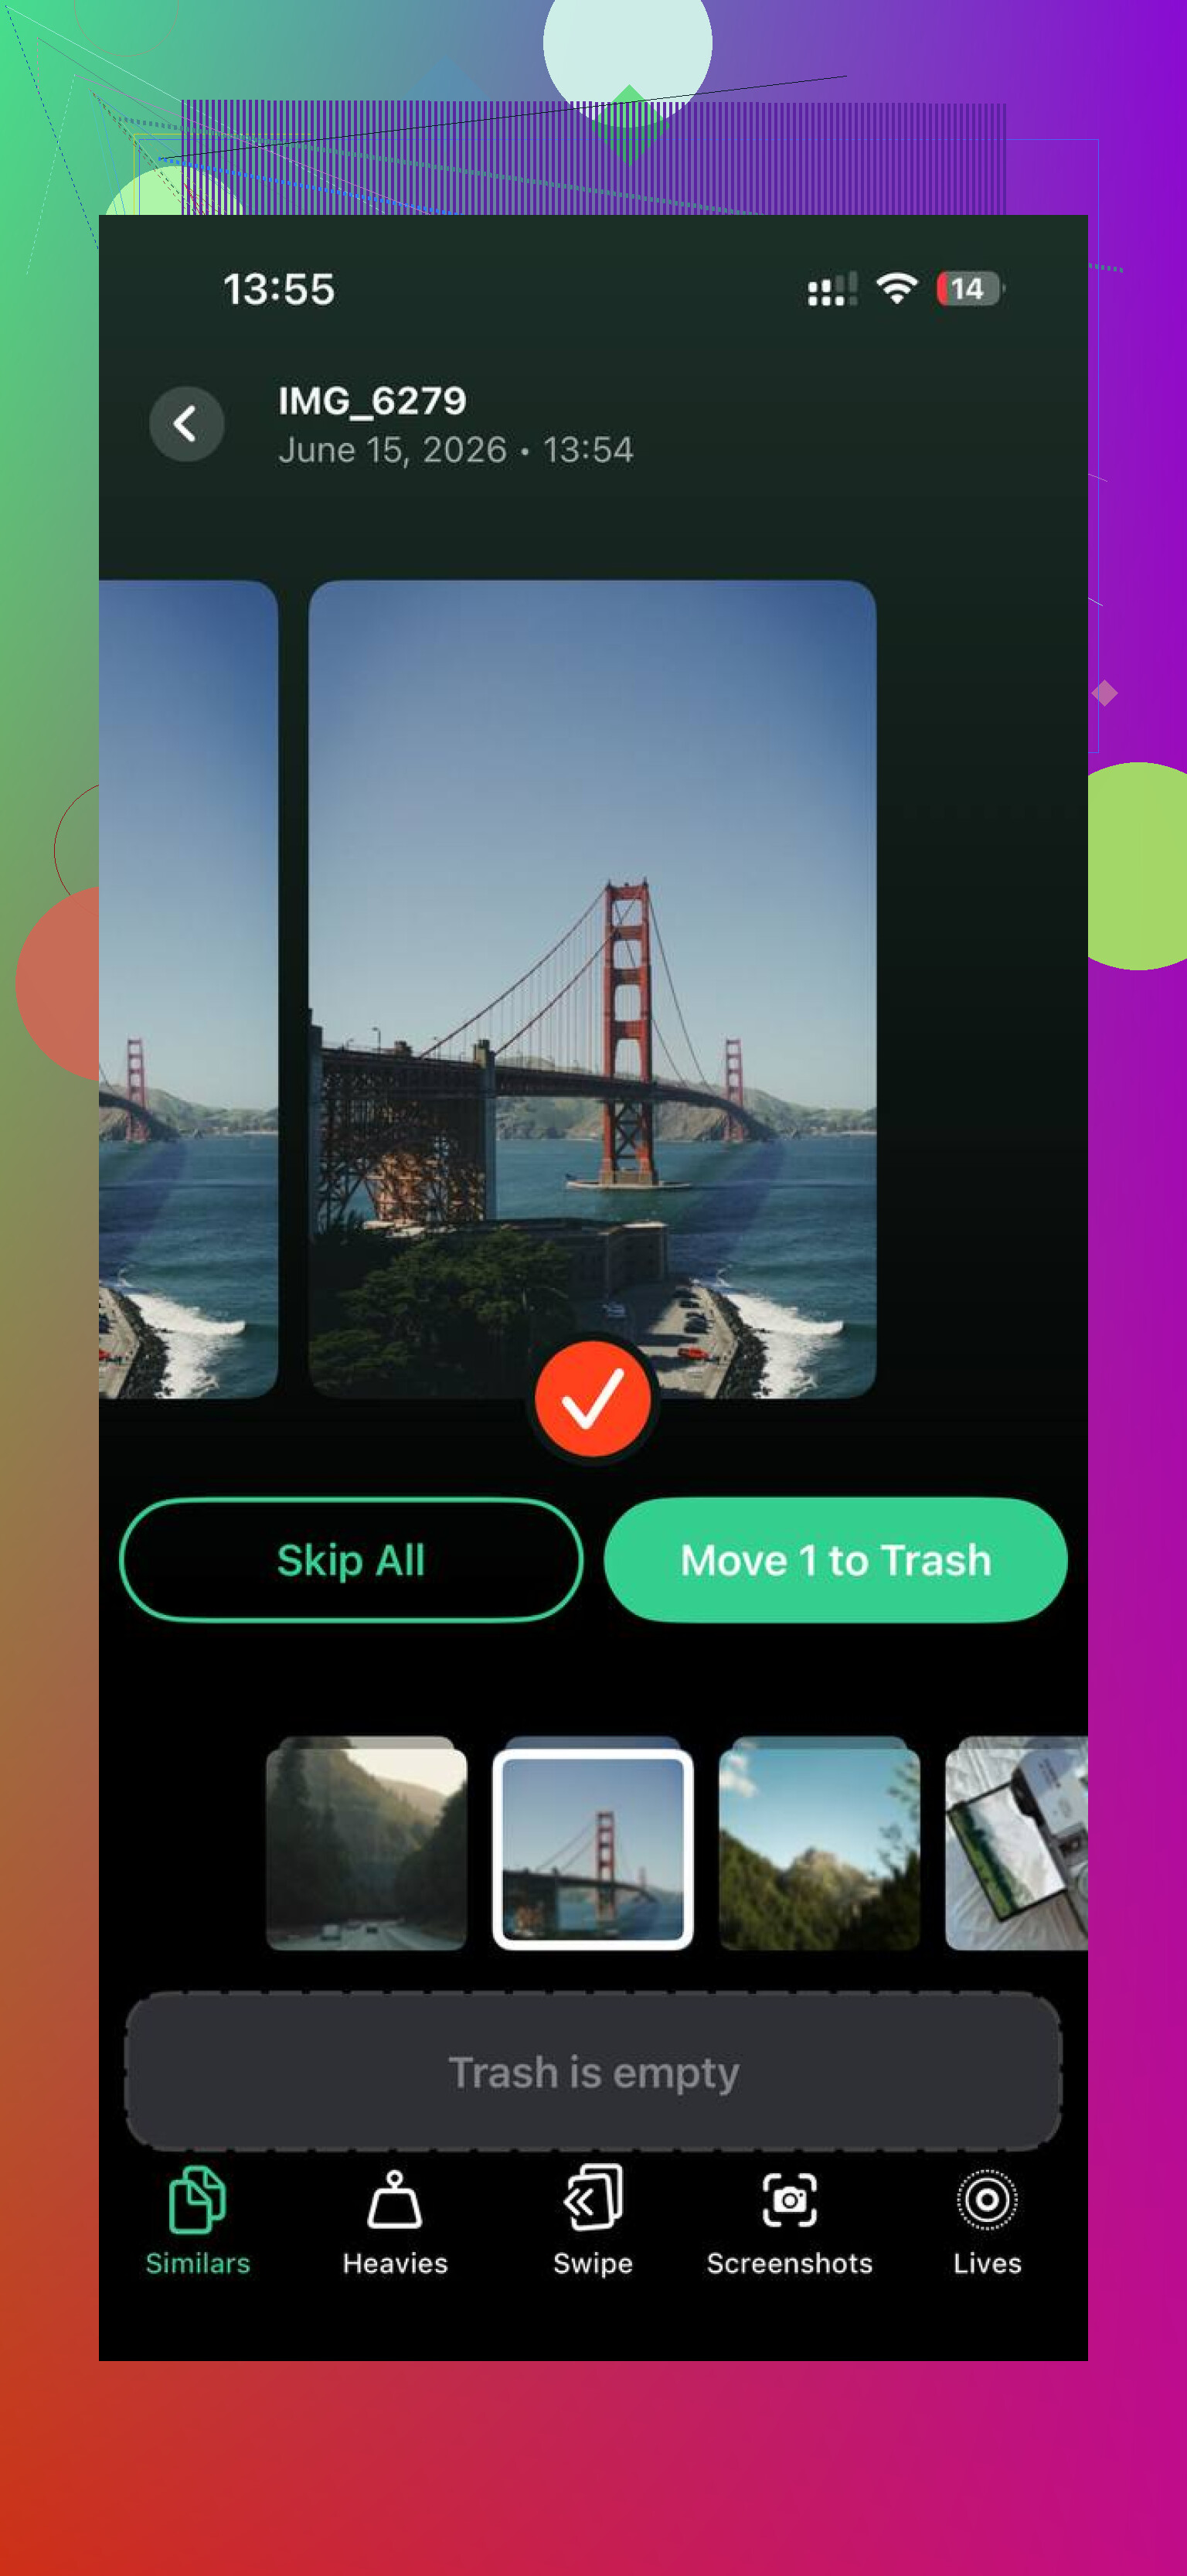
Start with Similars. This is the part I wish I’d used earlier. It groups near-matching shots, not only exact dupes. So if you took a burst, or five photos half a second apart trying to get one where nobody blinked, it pulls those together. It also marks a best shot. I went group by group and dumped the extras fast.
-
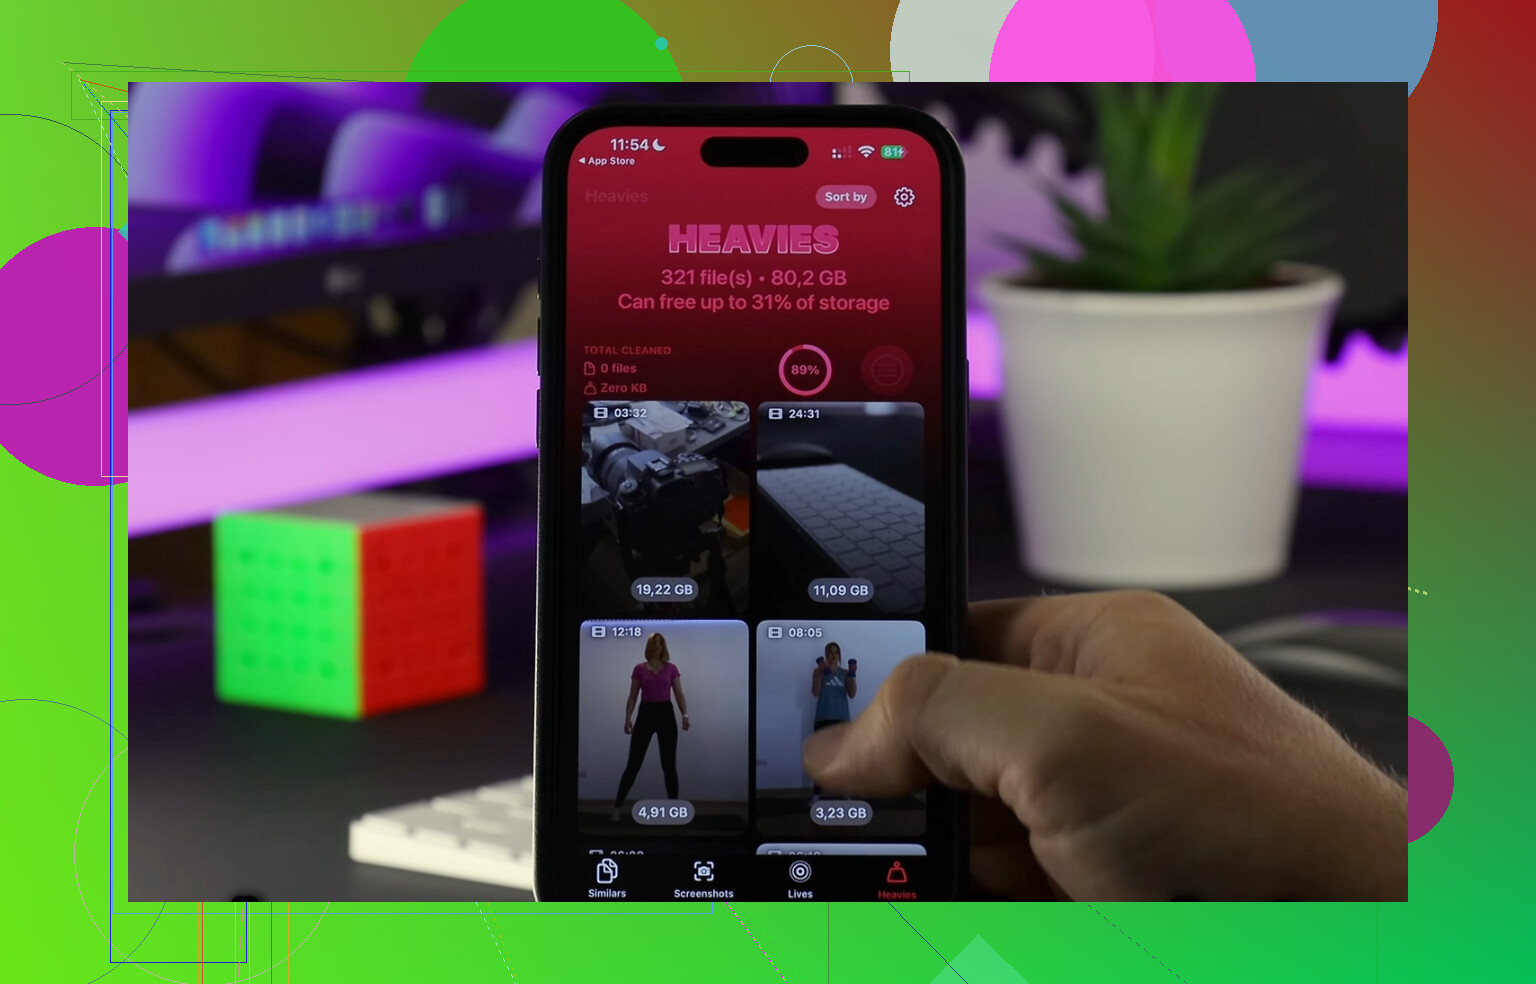
Then open Heavies. This view sorts files by size, biggest first. Mine had a few forgotten videos sitting at the top eating more space than thousands of normal photos. If you want space back fast, begin here. Big files move the needle first.
-
After that, check Screenshots. This one stung a bit. I had receipts, maps, random login screens, shipping confirmations, all dead weight. The app shows file sizes before removal, which helps when you want a quick pass without second-guessing every image.
-
Last, use Swipe mode for the older backlog. Month-by-month review feels way less brutal than staring at your whole camera roll. Left for trash, right for keep. It sounds simple because it is. I got through old years faster this way than with any folder system I tried.
One thing I cared about, all processing stays on the device. For personal photos, I prefer that. I’ve got old family pics in there and did not want them going elsewhere.
After cleanup, the library shrinks a lot and sorting stops feeling like punishment. You’re no longer digging through junk you never planned to keep anyway.
Finding photos without scrolling forever
Once the mess is cut down, a few habits make the library easier to live with.
-
Use Favorites for your best stuff only. I got stricter with this and it helped more than making twenty random albums. When you heart only the shots you’d show someone else, that view becomes useful.
-
Use search. The built-in photo search is better than people give it credit for. I typed things like dog, beach, birthday cake, and it pulled up what I needed with no manual tagging from me.
-
Put albums inside folders. If you make separate albums for every trip or event, the album list turns into its own mess. I keep broader folders now, like Vacations, Family, Work, then the specific albums sit inside.
How I kept the camera roll from turning ugly again
The fix was not one giant cleanup. It was maintenance. About ten minutes once a week did more for me than one giant Sunday where I got annoyed and quit halfway through.
I delete the junk from the week, save the keepers into albums, and move on. That small routine keeps the pile from coming back.
There’s also a sneaky way to chip away at old history. Search today’s date in On This Day and review only photos taken on this date from past years. I started doing five minutes here and there. It never felt huge, and over time I cleared a stupid amount of old clutter. Kinda boring, yeah. Still worked.
Albums on iPhone do not move the original file. They sort it. Think of an album like a label, not a new copy. Your photo stays in the main library in Photos.
The safe rule is this.
If you tap Remove from Album, the photo stays in your library.
If you tap Delete, it goes to Recently Deleted and disappears from all albums.
So if your goal is organization without losing originals, do this:
- Open Photos.
- Tap Albums.
- Tap the plus sign.
- Create a new album.
- Select photos to add.
This adds them to the album only. It does not pull them out of Recents or your full library.
One place I slightly disagree with @mikeappsreviewer, I would not build a huge folder tree first. For most people, fewer albums works better. Too many albums turns into a second mess. I keep mine to stuff like Trips, Family, Work, Receipts.
A safer setup is:
- Keep originals in the main library.
- Use albums for themes or events.
- Use Favorites for top shots.
- Never organize by deleting from Recents, becuase Recents is not an album you manage like others.
If you already cleaned up and want to avoid mistakes, test with 2 or 3 photos first. Add one photo to two albums, then remove it from one album. You’ll see it stays in the library. That makes the system click fast.
Also, if storage is tight before organizing, Clever Cleaner helps cut junk like duplicates, similar shots, and heavy files before you sort albums. This review explains it well: free iPhone cleaner app for removing duplicate photos and saving storage
One more tip people miss. Shared Albums are different from regular albums. Shared Albums compress photos and are for sharing, not for storing your best originals. Keep full-quality pics in your library first.
Short version, adding photos to albums is safe. Deleting is the part to watch. Remove from Album is fine. Delete is the dangerous button.
Albums on iPhone are basically containers, not movers. Your originals stay in the main Photos library unless you actually delete them. That part trips up a lot of people.
What I’d add to what @mikeappsreviewer and @nachtdromer said is this: use Smart-ish organization, not album overload. People make 40 albums, then forget where anything is. I did that once and it was dumb lol.
My setup now:
- Recents/Library = master archive
- Albums = events or projects only
- Favorites = best shots
- Keywords via search = everything else
A few important things people miss:
- Recents is not a separate copy
- Adding to an album does not duplicate storage
- Removing from an album does not delete the original
- Deleting from Library deletes it everywhere
Also, if you use iCloud Photos, albums sync too. So if you remove a photo from the library on your iPhone, it’s gone on your iPad/Mac as well. That’s the part I’d be extra carefull with.
One thing I slightly disagree on: I would not organize only after a giant cleanup. Sometimes making 3 or 4 basic albums first helps you see what’s worth keeping.
If you already cleaned up, just test with a few throwaway pics first. That makes it click fast.
And if you’re still trimming duplicates before sorting, Clever Cleaner is useful for that. If safety matters to you, this breakdown on whether Clever Cleaner is safe for iPhone photo cleanup is worth a read.
Short version: albums are safe, delete is the danger button.
Skip albums and use captions instead. Open a photo, swipe up, then tap Add a Caption. Enter simple labels such as “Tax 2026,” “Anna soccer,” or “Florida trip.”
Later, type the label into Photos search. Every matching image appears together, while the original stays untouched in your library.
Use one naming format and keep labels short. This avoids album clutter and makes photos easier to orgnaize across iPhone, iPad, and Mac. Start with important photos only, then label new ones during your weekly review.
Even if you hit Delete by accident, it isn’t instant doom. It sits in Recently Deleted for 30 days, and you can restore straight from there. Nobody above mentioned that, and it’s the actual safety net that makes this whole thing low stakes. Check that folder before you panic about anything.
The caption trick @shadowpixelpoint mentioned is clever, but I’d treat it as a supplement, not a replacement for albums. Caption search works, but it’s picky about exact wording, and if you fat-finger a label once you’ll never find that photo again. Albums are more forgiving because you can see the thumbnail. My honest take: make three or four broad albums, lean on Favorites for the good stuff, and stop there. The rest is search doing the work for you.
On Clever Cleaner, it makes sense to thin out duplicates first so you’re not filing junk into albums, but don’t expect it to organize anything. It clears clutter, that’s the whole job.