My external Mac hard drive suddenly stopped mounting, and I need to recover important photos and documents from it. Disk Utility detects the drive, but I can’t access the files. What are the safest Mac data recovery options before I risk making the problem worse?
First thing: stop using that drive as much as you can. Deleted or “missing” files on a Mac are often not wiped right away. macOS may just mark that space as free, which means the files can still be recoverable until something else gets written over them.
If it’s an external drive, unplug it for now. If it’s your internal Mac drive, avoid downloading anything, installing apps, moving files around, or even doing a bunch of normal browsing if you can help it. The less activity, the better your odds.
Check the easy stuff before jumping into recovery tools. Look in the Trash first. If the files were on an external drive, that drive may have its own hidden trash folder too. Plug it in, open the drive in Finder, then press Shift + Command + Period to show hidden files. Look for a folder called .Trashes. If the files are there, right-click them and choose “Put Back.”
Also check Time Machine if you had it running before the files disappeared. Open Time Machine from the menu bar, go back to a point where the files still existed, select them, and hit “Restore.” That’s usually the cleanest fix if the backup is there.
If there’s no Trash copy and no backup, then recovery software is the next reasonable step. Something like Disk Drill can scan Mac drives such as APFS and HFS+. Just be aware that recovered files may not always come back with the original filenames or folder structure.
A deeper scan usually looks for file signatures instead of only relying on the old folder index. That can help with photos, videos, documents, archives, and other common file types. If the drive is acting flaky, like disconnecting, running painfully slow, or throwing errors, make a byte-for-byte image first and scan that image instead of hammering the actual drive over and over.
Internal SSDs are trickier. Many modern SSDs use TRIM, which can clear deleted blocks automatically. Once that happens, normal recovery software may have nothing left to recover. That’s another reason to stop using the Mac right away.
If the drive is making clicking, grinding, repeated spin-up sounds, or anything that sounds mechanical and wrong, don’t run recovery scans on it. Software won’t fix physical damage, and scanning can make the situation worse. Disconnect it and consider a professional recovery service if the files are worth the cost.
I’ve been in a similar panic before, thinking I had copied my thesis to a flash drive when I hadn’t. So yeah, it feels awful, but missing files are not automatically gone forever. For now: minimize writes, check Trash and Time Machine, then recover from another drive or from a disk image if needed. After this is sorted out, set up at least two backups, like Time Machine plus a cloud copy.
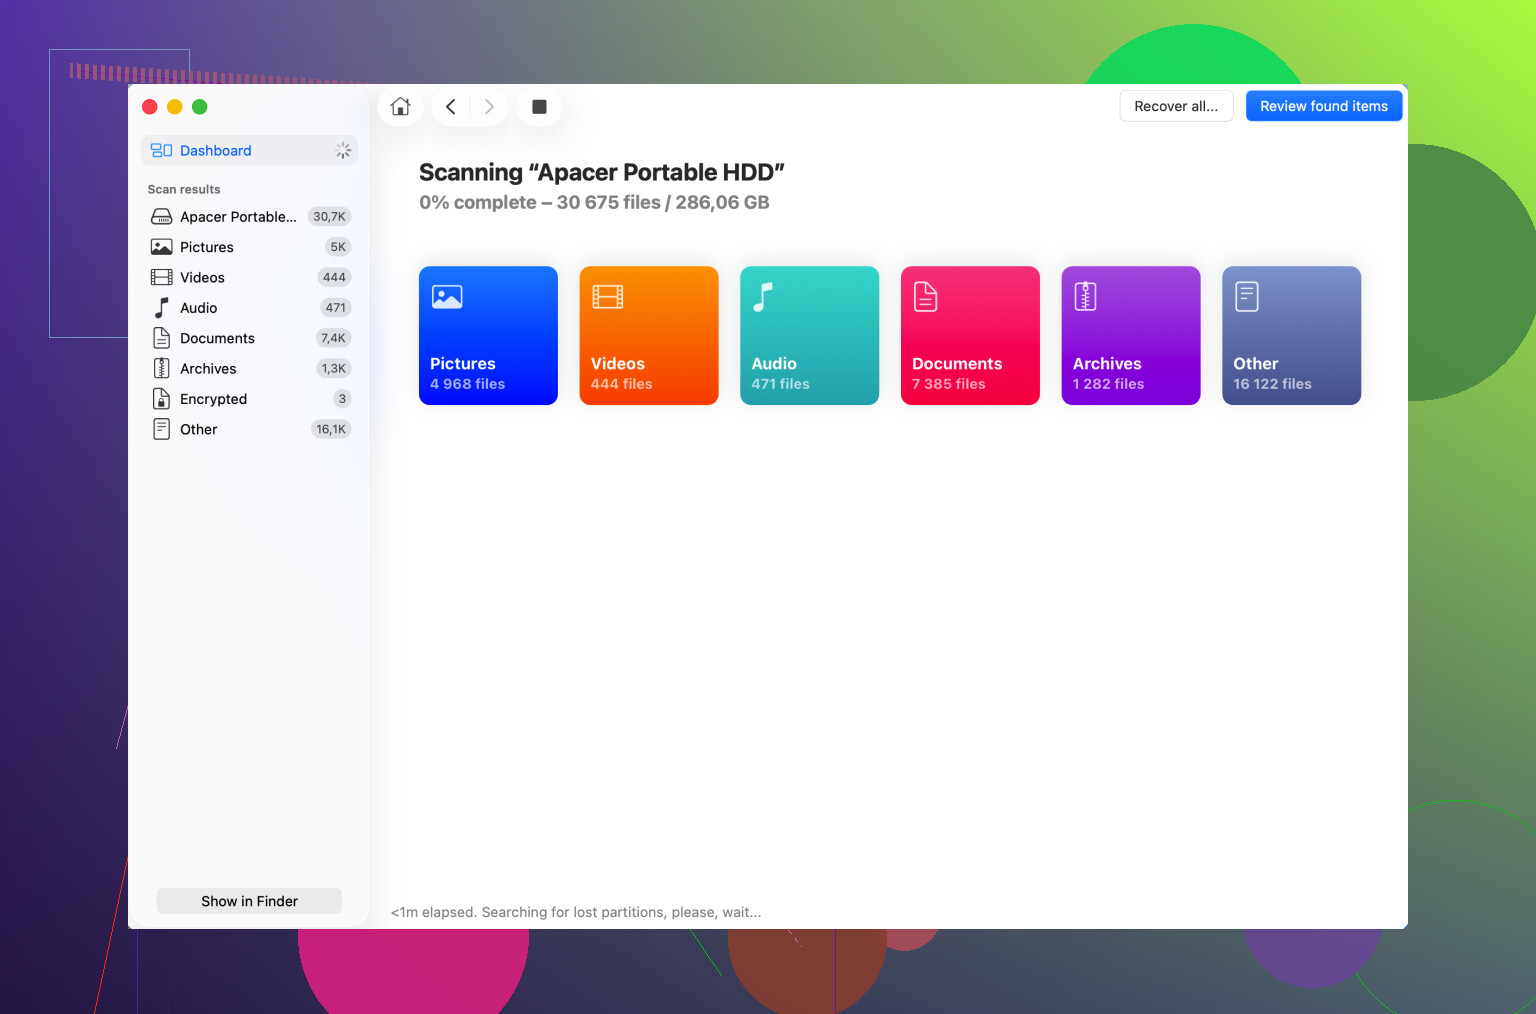
If Disk Utility shows the volume as locked or encrypted, recovery software won’t help much until it’s unlocked with the right password or recovery key. Before scanning, try a different cable/port and see whether Finder asks for a password, because a flaky enclosure can look like a dead drive when the disk itself is fine. Disk Drill or similar tools make sense after that, but don’t “repair” or erase anything just to make it mount.
A drive that shows up as a device but has an unmountable volume is a different job from a drive that keeps vanishing from Disk Utility every few seconds. The first can be a damaged file system. The second is more likely hardware, cable, power, enclosure, or the drive itself dying.
I’d be careful with Disk Utility here. Seeing the drive there makes it tempting to click First Aid a bunch of times, but if the photos and documents matter, I would not make repair attempts the first move. First Aid can be fine on a drive you have backed up. On the only copy of important data, it can change the file system while trying to fix it, and if the drive is already unstable, that is not what you want.
The safer order is usually:
- Try a different cable, port, and if it is a 3.5-inch external drive, a known-good power supply.
- If it is in a removable USB enclosure, consider that the enclosure may be the bad part, not the disk.
- Do not erase, initialize, repartition, or reformat, even if macOS offers.
- If the drive stays connected reliably, make an image or clone of the whole drive to another drive with enough free space.
- Run recovery software against the image or clone, not the original disk.
- Save recovered files to a separate drive, never back onto the problem drive.
That clone/image step is the boring part people skip because they want the files right now, but it is often what separates a decent recovery attempt from a messy one. Every scan makes the drive read a lot of sectors. If the drive is failing, repeated scans by different apps can beat it up. A byte-for-byte copy gives you one main read pass, then you can experiment on the copy.
Disk Drill is fine as a more friendly Mac option if the drive is electrically stable and you are dealing with a deleted/corrupt volume situation. The caveat is that no recovery app is magic. If the file system catalog is damaged, it may recover photos and documents by file type but lose folder names, dates, or original filenames. That is normal with signature-based recovery, not necessarily a sign the app did something wrong.
If you are more technical, tools like R-Studio or UFS Explorer are often mentioned for this kind of job because they give you more control over damaged APFS/HFS+ volumes. They are less hand-holdy, though. For a normal user, the “best” tool may simply be the one that lets you preview files clearly and recover to a different disk without writing to the bad one.
There is one shortcut I’d try before any deep scan if the drive is quiet and stable: in Disk Utility, select View > Show All Devices and check whether the physical disk, container, and volume all appear. Sometimes the physical drive is present but the APFS volume is not mounted. If the volume has a Mount button, you can try it once. If it asks for a password, stop guessing and find the correct password or recovery key. If it throws an error, don’t keep hammering it.
If it briefly mounts, don’t start copying the whole drive at once. Copy the most important folders first: photos, documents, desktop backups, whatever you cannot replace. Big “copy everything” jobs fail halfway and waste time on junk files. Prioritize.
If the drive clicks, grinds, spins up and down repeatedly, gets unusually hot, or disappears during copying, software recovery is no longer the safe option. At that point, unplug it and decide whether the data is worth a professional recovery lab. Expensive, yes, but cheaper than turning a recoverable drive into a worse case by scanning it all weekend.
So the safest DIY path is not “pick the strongest recovery app.” It is: stabilize the connection, avoid repairs and writes, image the drive if possible, scan the image, recover to a different disk. If you only have one copy of the data and the drive is acting physically sick, skip the DIY part and go straight to a lab.
If the disk will stay visible in Disk Utility for more than a few minutes without dropping out, I’d try a read-only mount before doing a full recovery scan. Not because it always works, but because it is a lot less invasive than letting several recovery apps grind through the whole disk.
You can check the identifier in Terminal with:
diskutil list
Then, if you can identify the volume correctly, try mounting it read-only rather than “repairing” it:
diskutil mount readOnly /dev/diskXsY
Replace diskXsY with the actual volume identifier, not a random guess. If that sounds uncomfortable, skip Terminal and don’t experiment. A wrong command is worse than doing nothing. But if the volume mounts read-only, copy the most important files off first and ignore folder perfection. Get the irreplaceable stuff before trying to make the drive look normal again.
I agree with the warnings above about not running First Aid repeatedly. I’d go further and say don’t use any tool that promises to “fix” the disk until you already have the files somewhere else. Recovery mode and repair mode are different things. You want recovery first. Repair can wait, and often the drive should just be retired afterward anyway.
For software, Disk Drill is reasonable if you want a Mac-friendly interface and previews, especially for photos and common document types. The catch is that the preview matters more than the marketing. If an app can preview the files correctly before purchase, that is usually a better sign than a big “found 900,000 files” number. Those huge counts can include thumbnails, cache junk, duplicate fragments, and files with useless names.
One small annoyance people forget: have a clean destination drive ready before scanning. Not the bad drive, not the same external enclosure, and not a nearly full internal Mac disk. Recovered photo libraries and document folders can take more room than expected, and stopping halfway because you ran out of space is a dumb way to make a bad day longer.