My external hard drive started clicking and now Windows sometimes won’t recognize it. I’m looking for reliable hard drive repair software or disk recovery tools that can check bad sectors, fix file system errors, and help recover files before the drive fails completely. What has actually worked for you?
If you only want one tool to try first, I’d start with Disk Drill. The main reason is that it puts recovery first, which is usually the right move when a drive starts acting weird. A lot of “repair” attempts can make things worse if the drive is already damaged, so getting your files copied out before trying to fix anything matters.
It also works with the usual stuff people run into: external hard drives, USB sticks, SD cards, internal drives, and so on. So you’re not juggling a different program for every device.
Disk Drill is probably the easiest pick for beginners, especially if Windows says the drive needs to be formatted, the drive shows up as RAW, files vanished, or you deleted something by mistake. It runs Quick Scan and Deep Scan together, lets you preview files before recovering them, and has a disk image option, which is useful if the drive seems unstable. It also shows S.M.A.R.T. health info, so you can get a rough idea of whether you’re dealing with file system damage or an actual hardware problem.
Pros
- Easy to use if you haven’t done this before.
- Good for deleted files, formatted drives, RAW drives, and corrupted drives.
- Can make a disk image before you start recovery.
- Includes S.M.A.R.T. monitoring.
- The free Windows version can recover up to 100 MB.
Cons
- It won’t repair partition tables or boot sectors.
- You need the paid version for serious recovery work.
If you want more of a general disk toolbox, DiskGenius is worth looking at. It does file recovery, partition management, partition recovery, cloning, backups, and some basic repair tasks. It’s the better fit if a partition disappeared, the file system is damaged, or you want to clone the drive before touching anything.
It’s not as simple as Disk Drill, but it’s still a lot more approachable than doing everything from the command line.
Pros
- Packs recovery, partition repair, cloning, and backup tools into one app.
- Can rebuild lost partitions.
- Supports RAID and virtual disks.
- Has disk health checks and bad sector testing.
Cons
- Some of the better advanced tools are paid.
- The interface can be a bit much if you’re new to this.
SeaTools is more of a diagnostic tool than a recovery tool. Use it when you’re trying to figure out whether the drive itself is dying. It can run short and long hardware tests, check S.M.A.R.T. status, and help separate a file system issue from a hardware issue. If I suspected the drive had physical problems, I’d usually check it before attempting repairs.
Pros
- Free.
- Simple short and extended diagnostics.
- Works with many drive brands, not only Seagate.
- Good first check before trying repair tools.
Cons
- No file recovery.
- No partition repair or lost data recovery.
The big thing I’d avoid is running a bunch of repair tools back to back just to see what happens. If the drive has files you care about, recover them or back them up first. Once your data is safe, then it makes sense to try fixing logical errors if the drive looks healthy.
If the drive is physically failing, treat it differently. Clicking or grinding sounds, painfully slow reads, Windows freezing when you open the drive, I/O errors, random disconnects, or S.M.A.R.T. warnings about reallocated or pending sectors are all bad signs. Don’t keep hammering it with repair scans at that point, because they can put more stress on the drive.
- Copy or recover the important files right away.
- If the drive is unstable, make a full disk image before trying repairs.
- Replace the drive after the data is safe. Physical wear does not fix itself.
- If the drive is not detected at all, or it’s making strange mechanical noises, don’t keep experimenting with software. Contact a professional data recovery service. Software can’t repair damaged heads, motors, or controller boards, but a recovery lab may be able to help.
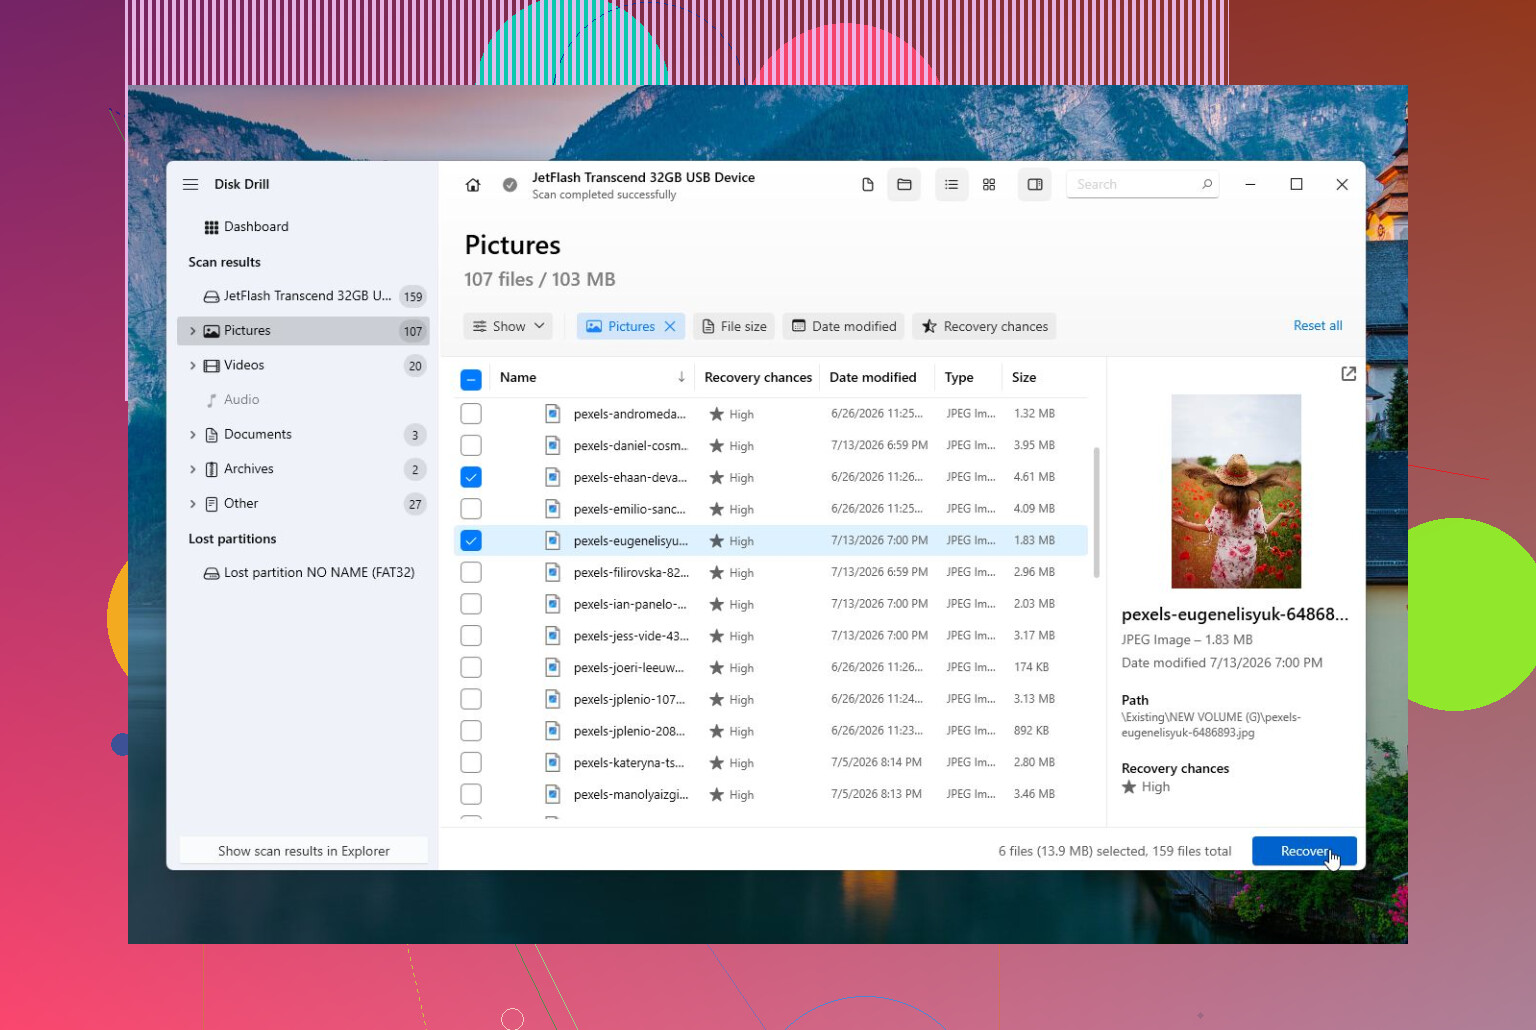
If the drive is clicking, I would stop thinking of this as a repair-software problem until the data is off it. Bad sectors and file system errors are one thing. A clicking external drive can be heads, motor, power, or enclosure trouble, and no Windows utility is going to “repair” that. The worst first move is usually CHKDSK /f or any tool that tries to fix the file system in place, because it can turn a messy but recoverable file table into a cleaner-looking drive with missing files.
Disk Drill makes sense if Windows still sees the disk long enough to scan it, especially because you can work from an image instead of poking the failing drive over and over. But I would treat that image step as the main event, not the scan. If you are comfortable with less friendly tools, HDDSuperClone or ddrescue from a Linux USB is often the better route for a physically flaky drive because it is built around skipping bad areas and coming back to them later. It is not beginner-friendly, though, so that tradeoff is real.
Small boring thing people miss: try a different USB cable, port, and power supply if it is a 3.5 inch external drive. A weak adapter or flaky enclosure can make a drive click or disconnect. If the bare drive still clicks on known-good power, stop testing it. At that point the “best software” is probably no software, unless the files are replaceable and you are fine gambling with them.
A scan that finds your files can still be wearing the drive down the whole time it runs. That is the annoying part with clicking drives. People see filenames in a recovery app and think they are safe, then the scan keeps grinding for six hours and the drive drops off the bus before anything gets copied.
I’m with @byteguru on not running CHKDSK first. I’d go even further and say don’t run any “repair” button first. Repair tools are for a disk that is mechanically healthy but has a confused file system. Clicking is not that. Clicking means your first goal is to reduce reads, not test every sector for curiosity.
My usual order would be:
- Stop plugging it in repeatedly just to see if Windows recognizes it this time.
- Try the boring external-drive stuff once: different cable, different USB port, different power brick if it has one.
- If it shows up, copy the irreplaceable files first, not the biggest folders or the easiest ones.
- If copying freezes, make an image or clone before doing recovery scans.
- Recover from the image, not from the original drive.
The part I think gets missed with external drives is the enclosure. Some USB enclosures fail before the actual drive does. Some also do weird translation or encryption, especially branded desktop externals. So if you pull the bare drive out and connect it with another adapter, it may show as RAW or unreadable even if the data is still there. That does not always mean the drive got worse. It may mean the old USB bridge was part of how the disk was being presented to Windows. Because of that, do not initialize it, do not format it, and do not “fix” the partition table just because Windows asks.
For software, Disk Drill is fine for the user-friendly side, especially if the disk is still stable enough to image and you want previews before recovering. I would not treat it as hard drive repair software, though. It is recovery software. That distinction matters. If the drive is clicking, the best feature is not the fancy scan. It is being able to work from a disk image so the failing drive is touched as little as possible.
If you want a cheaper and more technical option, DMDE is worth knowing about. It is not as friendly, and the interface can make normal people want to close the laptop, but it can be very useful for checking whether a partition structure is still there and recovering files without doing “repair” operations. R-Studio and UFS Explorer are other serious recovery tools, but they are probably overkill if you only need a few files from one external drive.
I’d be careful with long diagnostic tests in your situation. SeaTools, WD Dashboard, CrystalDiskInfo, etc. can be useful when a drive is healthy enough to test, but a full surface scan on a clicking drive is basically asking it to read the whole disk while it is already complaining. A quick SMART check is one thing. A long test that hammers every sector is another.
Bad sector repair is another phrase that causes trouble. Software does not really repair a bad physical sector. At best, the drive may remap it after a write, or the tool may mark it so the file system avoids it. That is not data recovery. If your missing photos are sitting in that area, “repairing” can make the file system look cleaner while the actual file contents are gone or overwritten.
If the data matters more than the price of a recovery service, unplug it and get a quote from a lab. No shame in that. The DIY route is reasonable only if the files are replaceable, the budget is tight, or you accept that the drive may die halfway through.
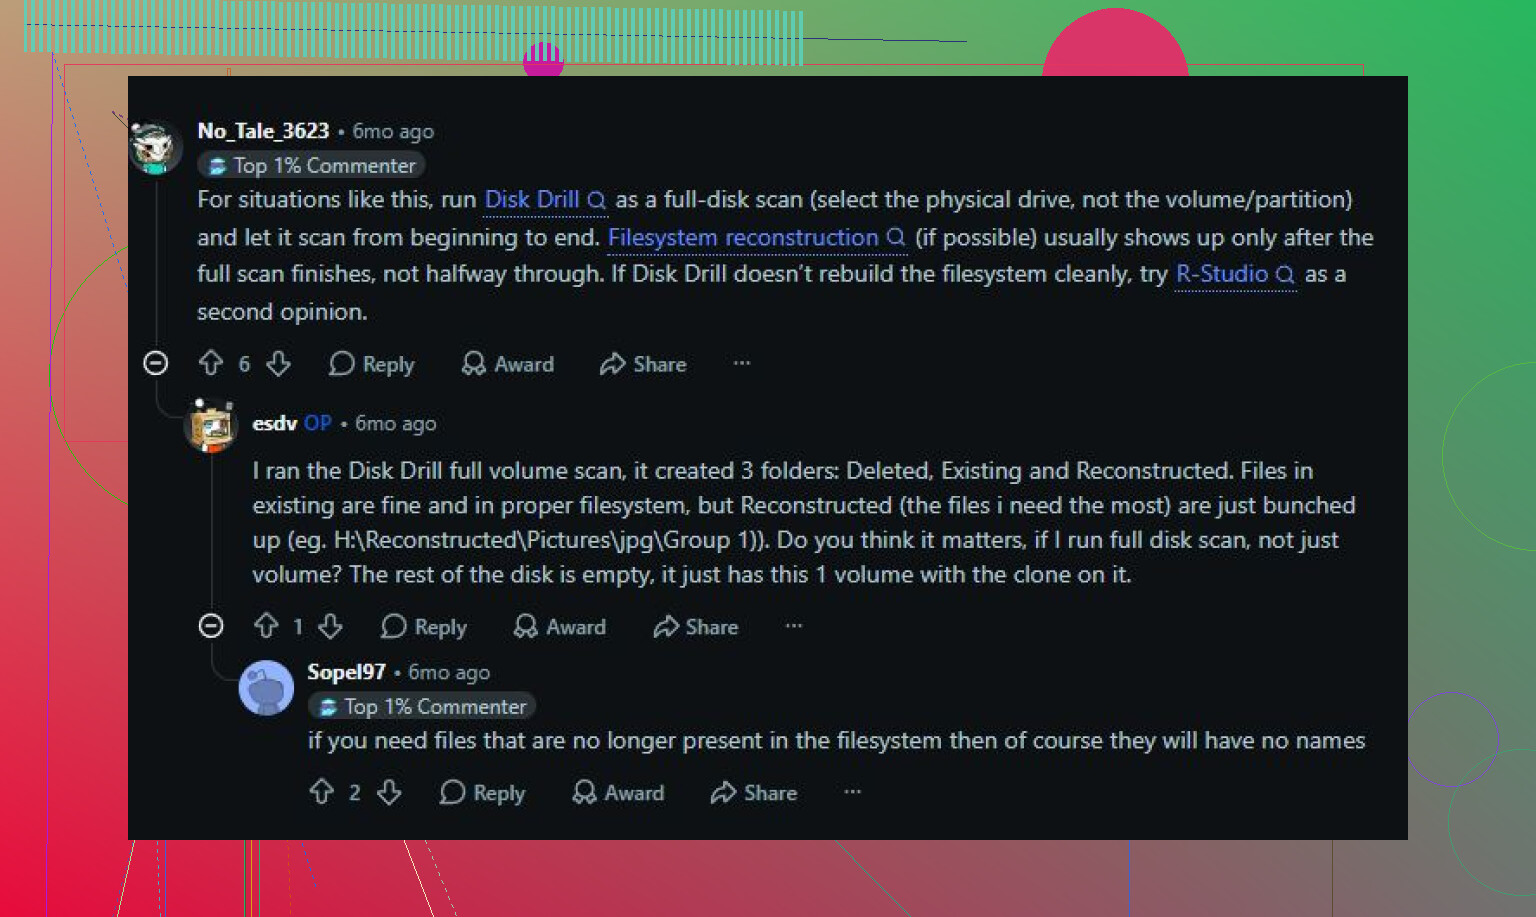
If it were my call for a non-critical drive, I’d try this: make an image with the least stressful method available, then open that image in Disk Drill or another recovery tool and save recovered files to a completely different drive. After that, I would replace the clicking drive even if the recovery works. I would not trust it again for storage.
A drive with a corrupt file system is a software job; a drive that clicks and disappears is a triage job.
So my go-to would be: have a second drive ready, image the bad one if it stays online, then run Disk Drill against the image and recover to the spare. Don’t use any “fix errors” option on the original just because the scan found something.